How to add snaps or buttons to the Reverie bodice

The beautiful Reverie Dress is a very fitted style, and can be a little tricky to get over the head in a fabric with a firm stretch, like custom printed cotton lycra (it is much easier in a nice stretchy bamboo, rayon, or brushed polyester - for example). Here is a great way to make it easier - add buttons or snaps!
This tutorial will show you how to add snaps or buttons to the front of the bodice, but a very similar process could be used to add them to the back instead (you would need more snaps/buttons since the back neckline is much higher).
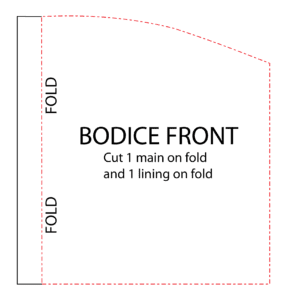
First, add some extra width to the bodice front along the fold line. You will need to add 1/4" seam allowance, plus HALF of the amount you wish to overlap the pieces. I overlapped mine by 1/2", so I added an extra 1/4", for a total of 1/2" extra width. I used size 16 snaps, which are quite small.
In the other example I will show with size 20 snaps, the overlap is 3/4" - so the amount added was 5/8" (1/4" seam allowance plus 3/8", which is half of 3/4"). If you wanted a 1" overlap for larger buttons, you would add 3/4" (1/4" seam allowance plus 1/2").
Sew the back main and back lining together as shown in the original Reverie tutorial, turn it right side out and gather the straps as per normal.
Next, baste the straps onto the marked placement as per normal (but with the front bodice in two pieces instead of one), and sandwich the straps between the front bodice main and lining.
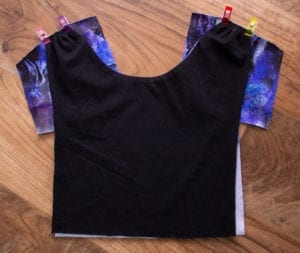
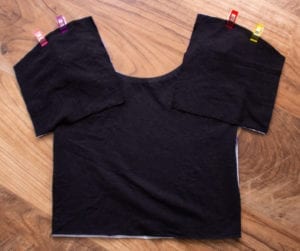
Sew along the bodice top and down the middle, on each side, as shown below. Clip the corner of the seam allowance diagonally.
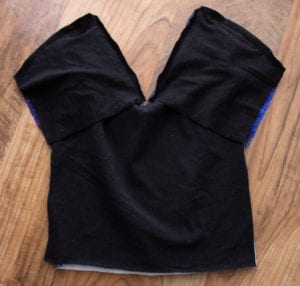

Now, at this point you want to apply fusible interfacing to the center edges, before turning it right side out and applying the snaps or buttons/buttonholes. In the example above, I applied a 1/2" strip of medium weight fusible interfacing to one layer only, right next to the stitching line. This was enough to stabilize the snaps, but unfortunately it wasn't enough to prevent the fabric from pulling oddly in the snap area, when it was stretched on the body. In the other example sewn (light blue floral), a 1" wide strip of heavyweight interfacing was applied just over the stitching line on both the main and lining fabrics, and this worked perfectly to keep the front edge straight and crisp. In the below picture, I have illustrated where the interfacing went in both these samples, using pink rectangles. You want to do it like the one on the right (1" wide strip).



Turn the bodice right side out and poke the corners out with a blunt object (like a chopstick) and press it, before applying your snaps or buttons and buttonholes. Then snap or button your bodice together and baste the bottom edge, before attaching the skirt as per normal.
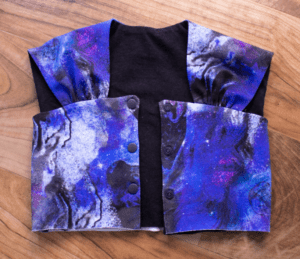

And you're done!! Please note, the light blue floral top length is not included with the Reverie pattern, but it's very easy to shorten the rectangular skirt pieces to do this. The pattern includes a gathered knee length skirt, tea length, and maxi skirt.
