How to Make Slouchy Ruched Slipper Boots
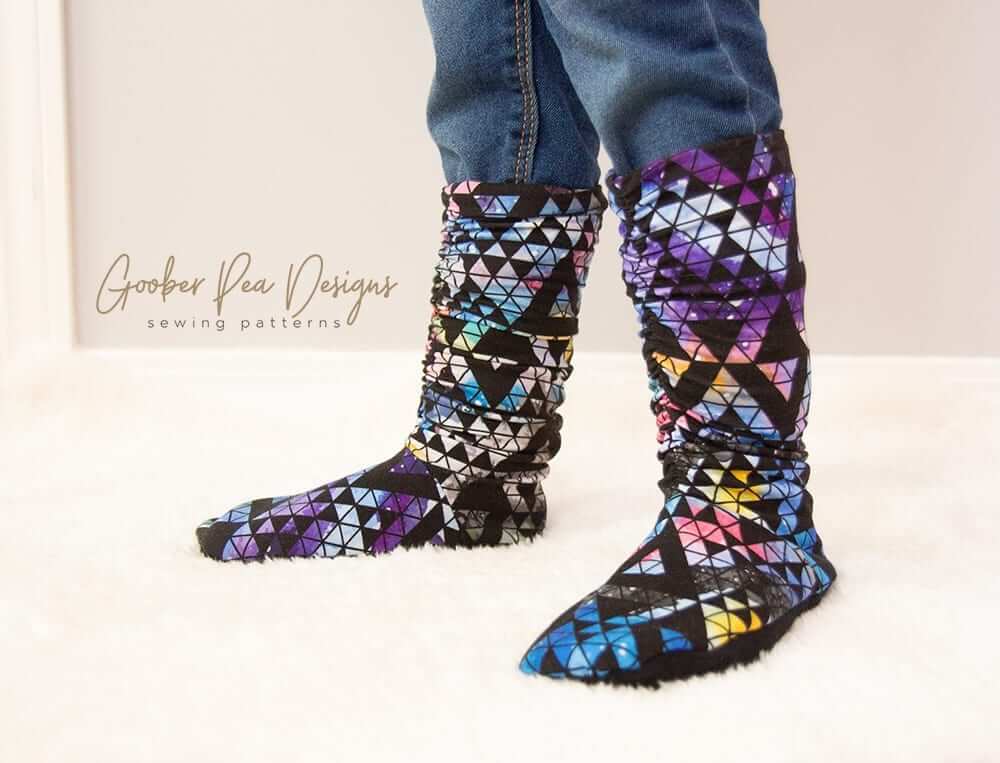
This tutorial shows how to hack (modify) the Canmore Cuddle Boots pattern to have a slouchy ruched boot top. This method could also be used for the Rocky Mountain Slipper Boots – but that pattern is sized for wovens, and most fabrics that would drape nicely for the slouchy look would be stretchy knits.
I used super soft bamboo jersey from Wellington Fabrics for my outer fabric on these boots, and thicker bamboo fleece for the lining.
The first step is to cut your lining (using the regular boot top piece) and then modify your boot top to be taller. As shown below – cut it in equal sections above the ankle, then tape/glue them to the edge of a piece of paper, and redraw the curve. When I did mine, I cut it in 1″ sections and added 1/2″ between each cut. You can do more or less, depending on how much ruching you would like.
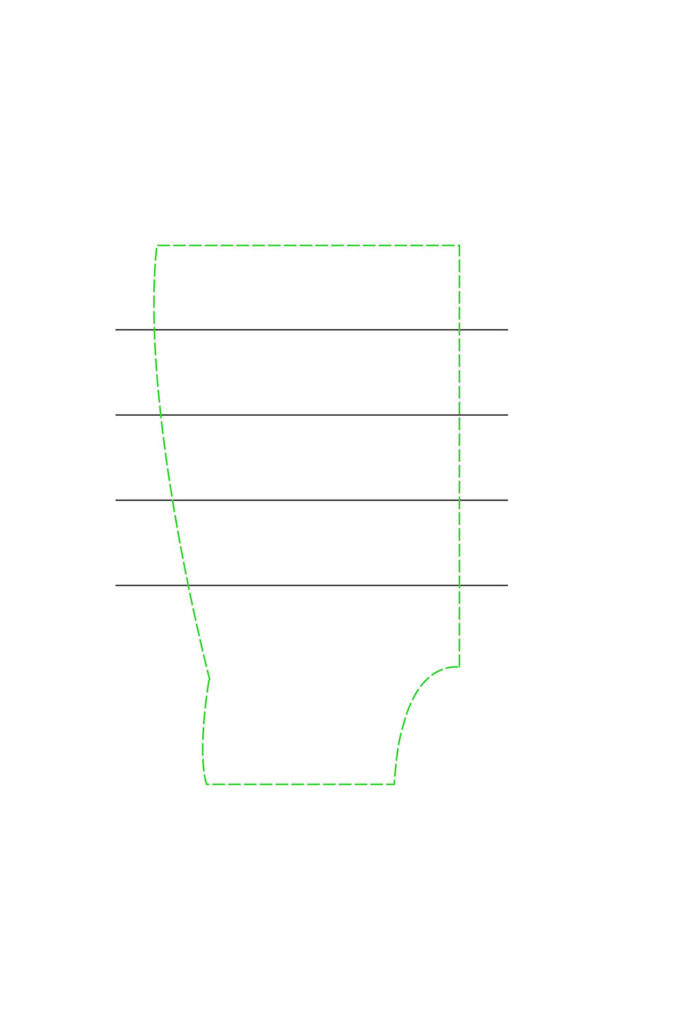
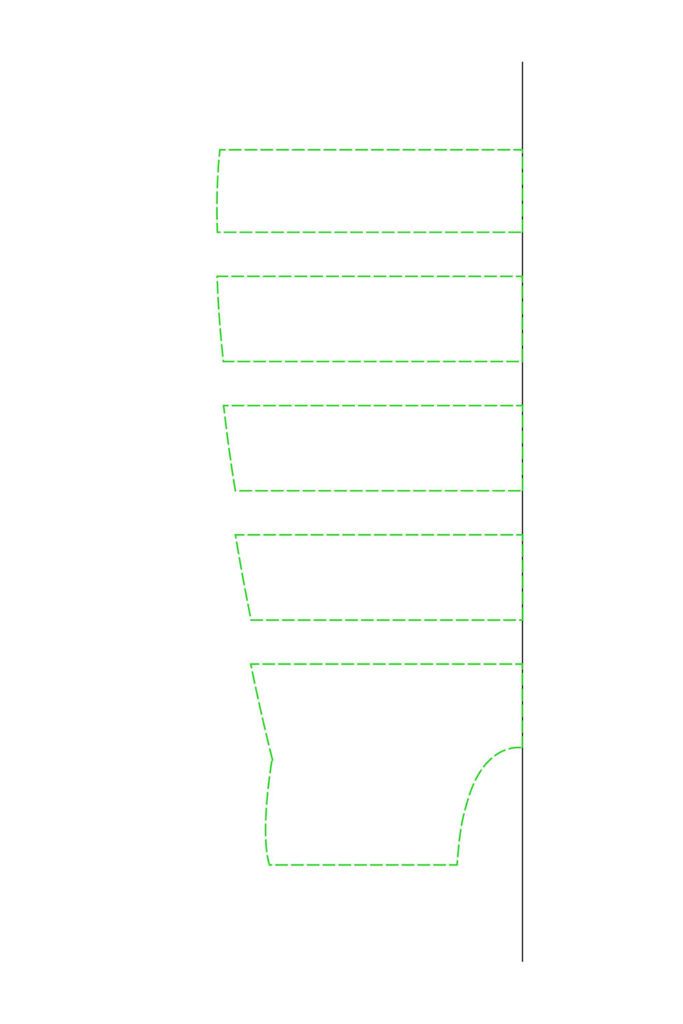
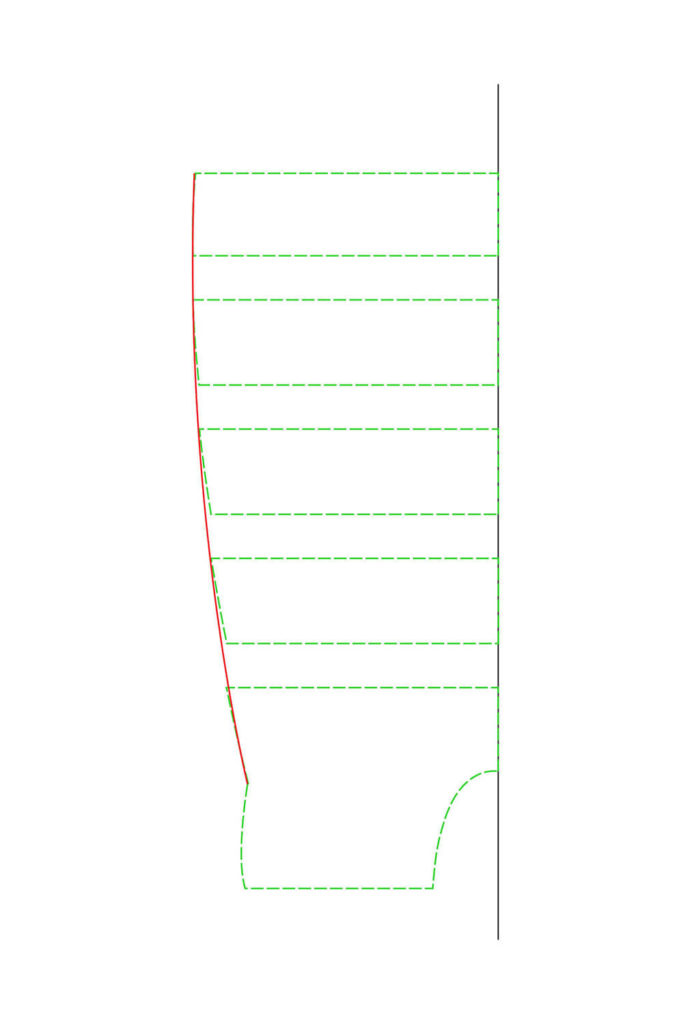
Cut your MAIN boot tops using this modified piece. The toes and soles can be cut as normal for both main and lining.
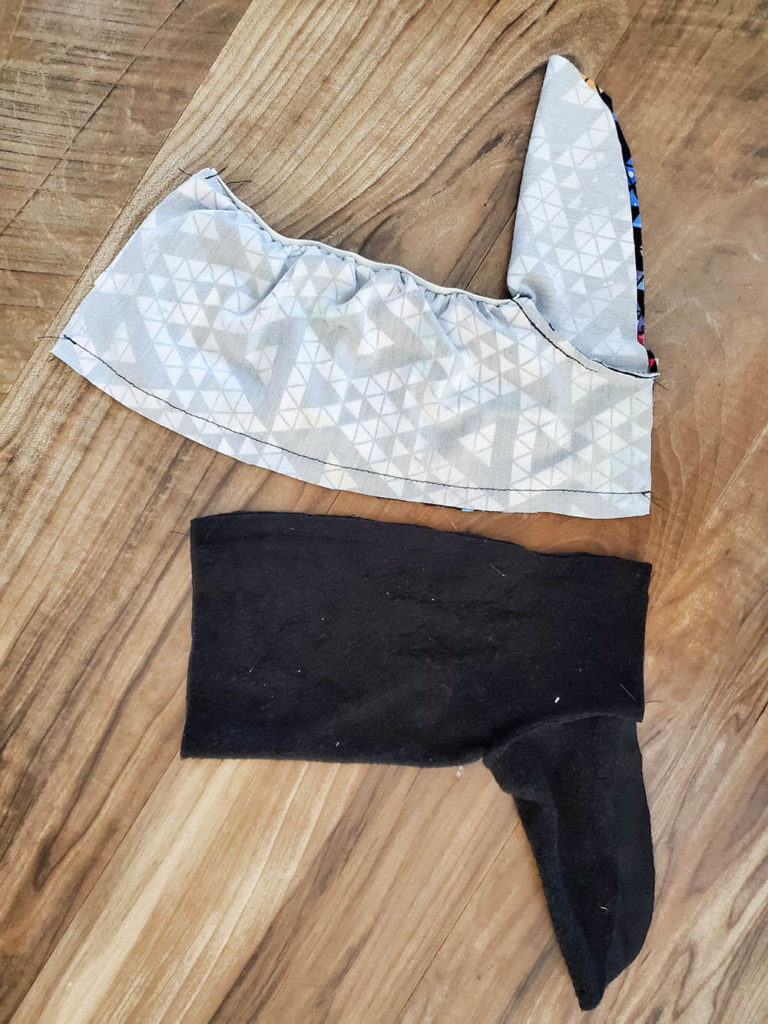
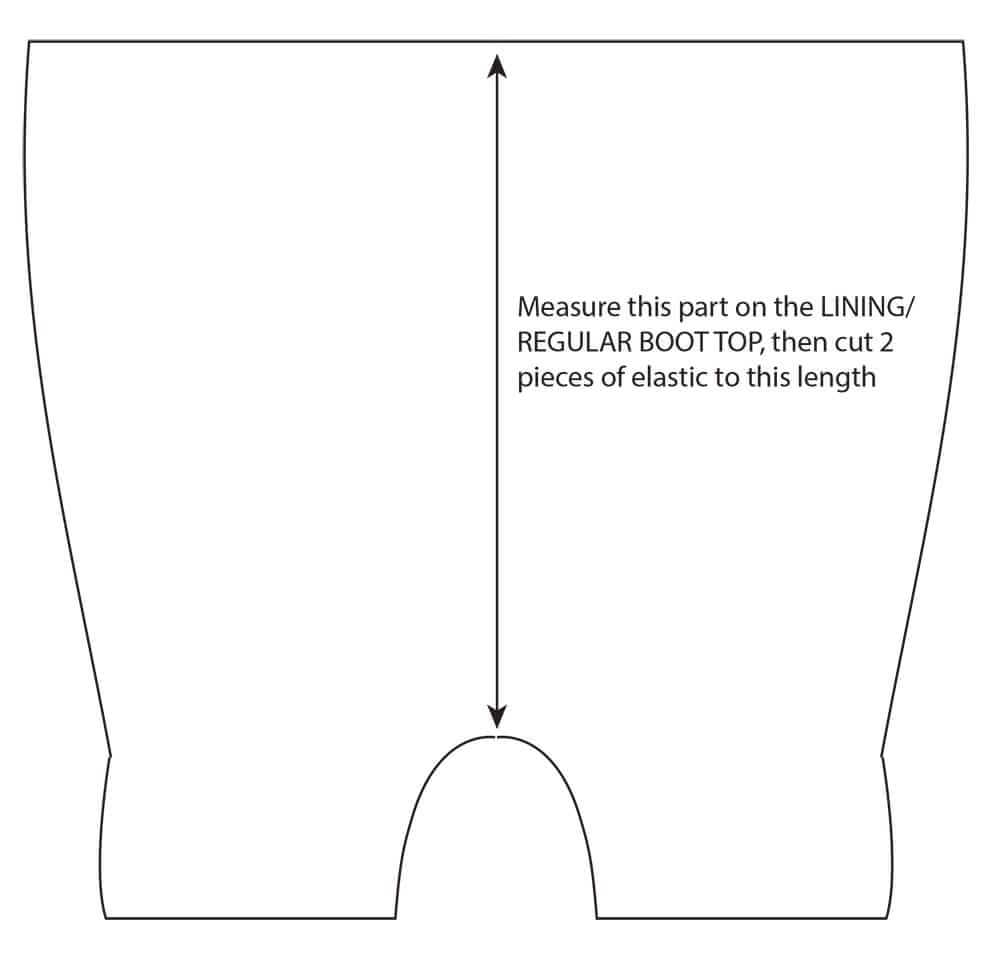
Next, measure the center height of your boot top, from the top down to the center of the curved part. Cut 2 pieces of elastic to this length. I used 3/8″ braided elastic, but 1/4″ would also work, as would other types of elastic (such as clear) in a width of 1/4″-3/8″.
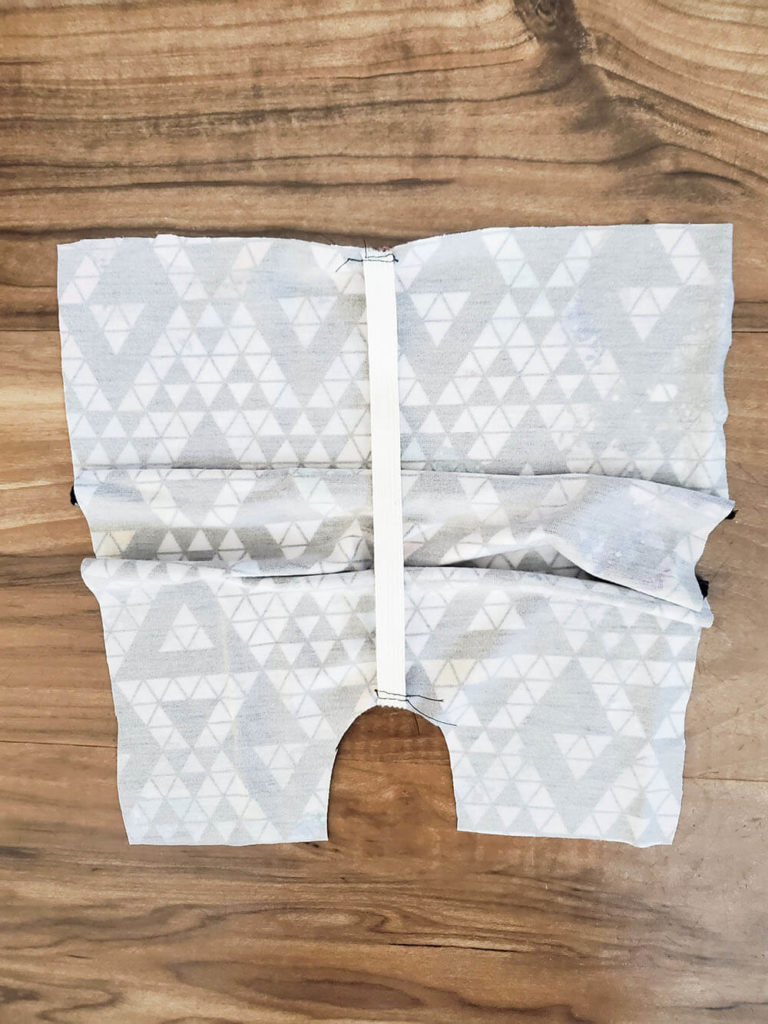
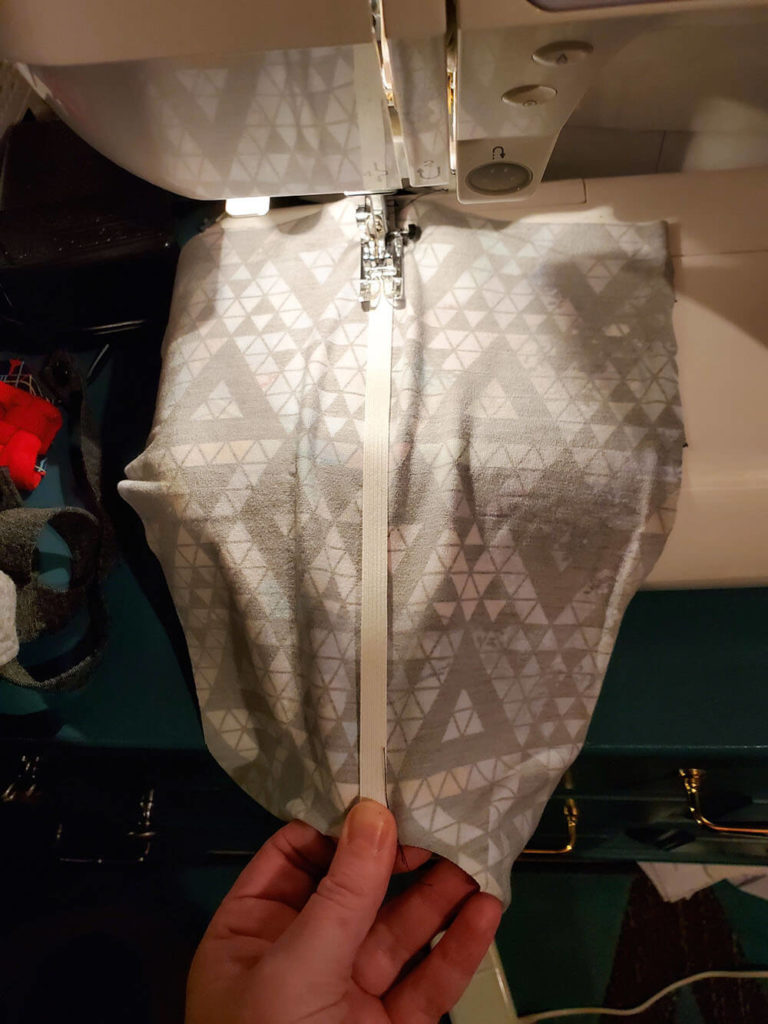
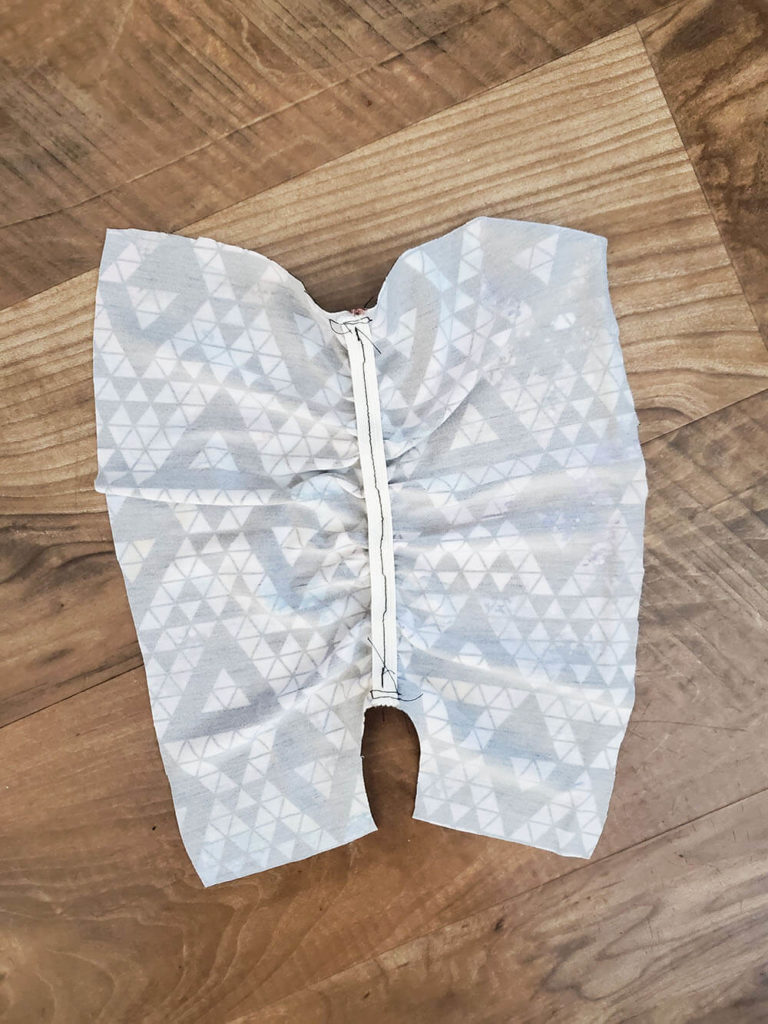
Place the elastic on the MAIN boot top (the one modified to be taller) against the wrong side of the fabric, and tack it at the top and bottom with a few basting stitches. Then, starting 3/8″ from the top, start sewing through the elastic, stretching it to match the height of the boot top. A long straight stitch will work – no need to use a stretch stitch.
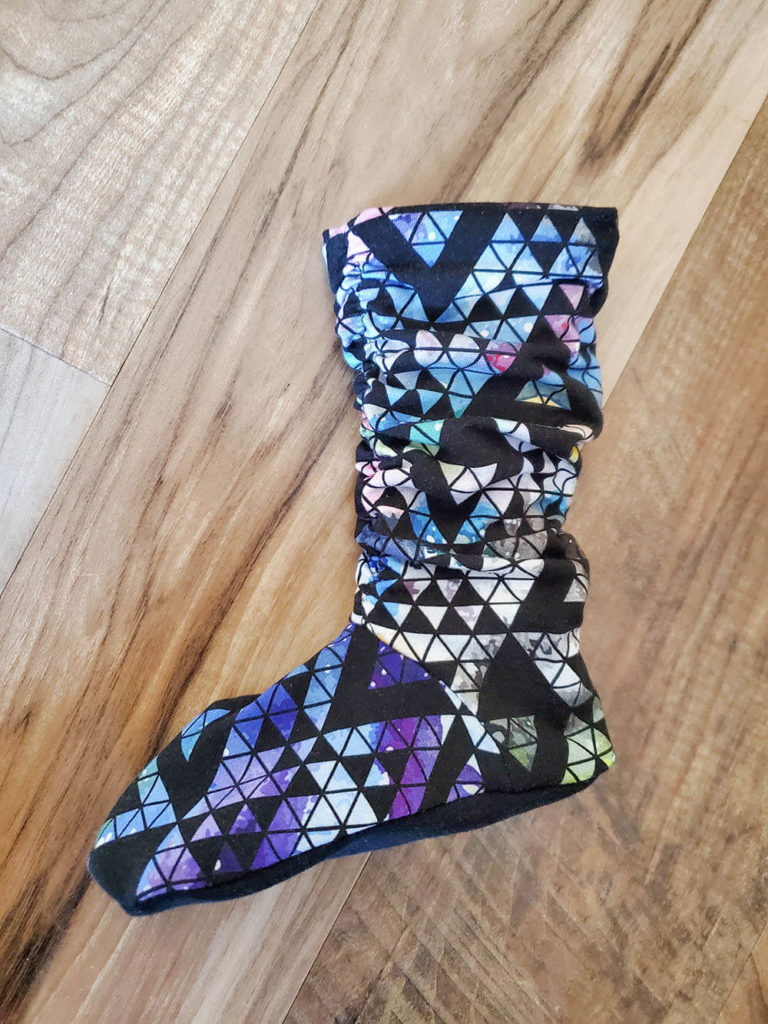
Next, sew your toes onto your boot tops as normal, then sew the back seam. OPTIONAL: Use your favorite gathering method to gather the back seam of the main boot (from the ankle up to the top) to match the height of the lining. This will help the slouchy folds sit more evenly, but my example is not gathered and still looks pretty good.
Then finish your boots as per normal (top seam, and then flip right side out and attach the sole).
