Adding a Hanging Loop to the Quadra Jacket
Hi there! Anisha here from SASSY Creations! I have a handy little hack to show you today: a hanging loop for your Quadra Jacket! Very simply made and attached, this nifty little detail will help you keep your cloakroom tidy! 😃
I'll show/explain to you how to attach it to the lined and faced version of the Quadra Jacket, both with and without collar.
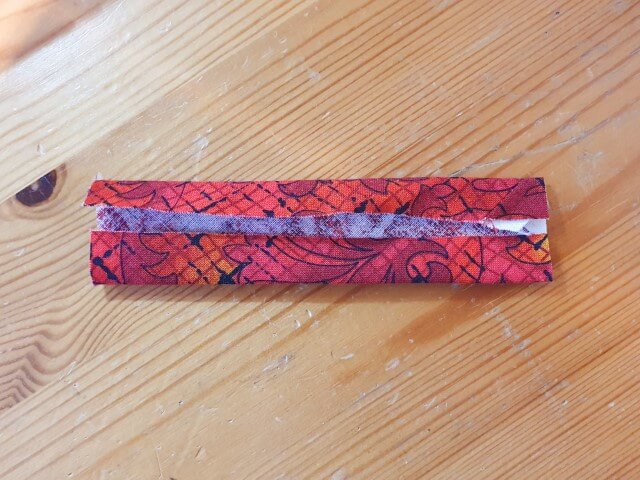
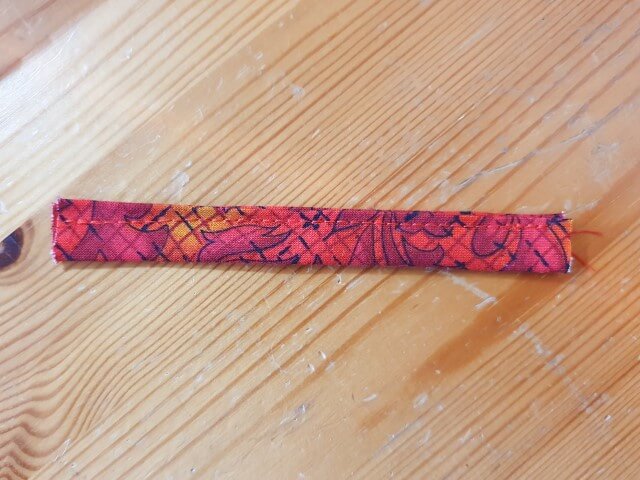
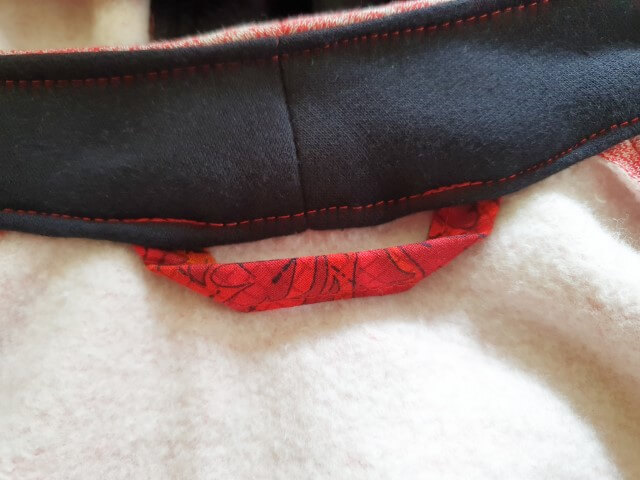
The length of your loop is pretty much up to you; I used a 4" x 2" loop for mine. Fold your piece wrong sides together lengthwise and press to get your centre line. Unfold that again and press the long sides in towards the pre-pressed centre line, then fold along the first line again, lining up the two folds that you just made, enclosing the long raw edges. Topstitch the length of your loop. You can topstitch only the edge where your folds meet, or down both sides.
Unlined Version with Collar or Hood/Collar Combo:
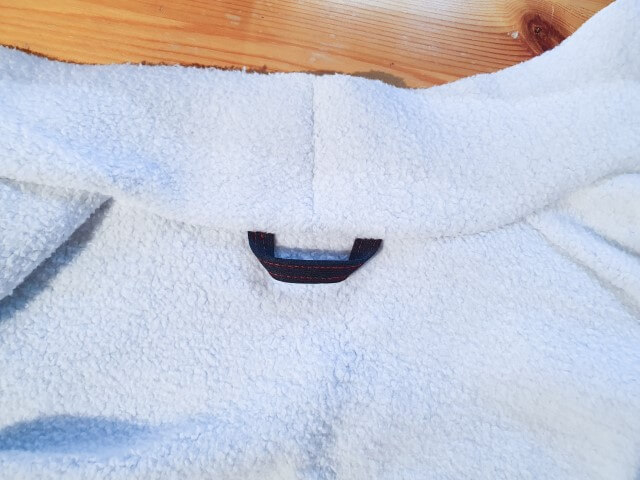
Sew up your jacket to the point of having attached your facings. Before topstitching the lining of your collar down, place your hanging loop on the seam and pin or baste in place. Basting it to the seam allowance at this point will give it a bit of extra strength. Flip the collar lining down and topstitch in place. I backstitched over the loop ends once to add more stability because my kids tend to be hard on these sorts of things.
Unlined Version with Hood:
I didn't do any of this version so I don't have photos, but here are 3 ways of attaching the loop for this version:
1. After sewing the hood to the body, you can simply sew the loop to the seam allowance, making sure to tack it in place well.
2. You can place the loop onto the wrong side of the main body at the centre back and catch the loop ends in your seam when you sew on the hood.
3. If you are binding the neck seam, tack the loop to the seam allowance at the centre back on the body side and enclose the raw edges of the loop while sewing on the binding.
Lined Version with Hood, Collar or Hood/Collar Combo:
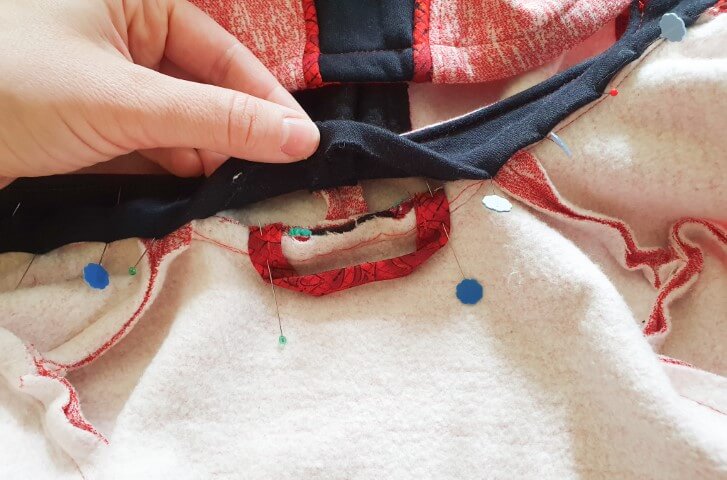
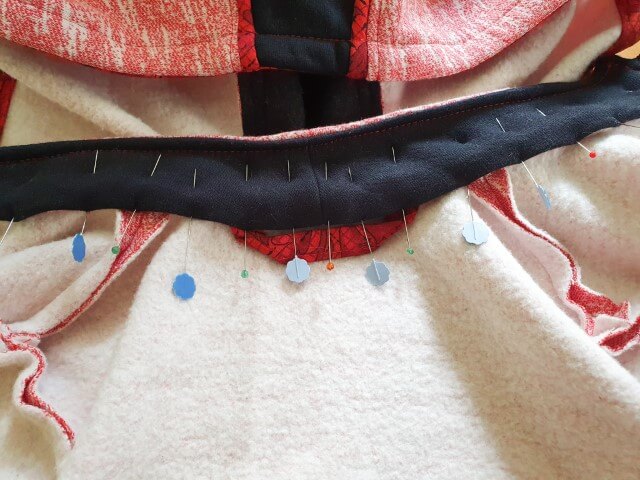
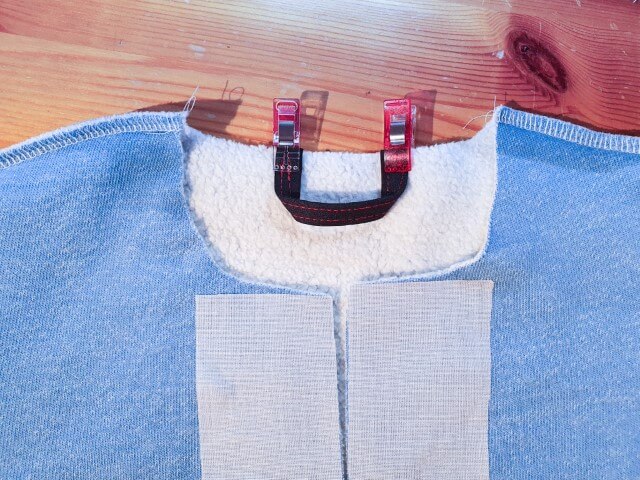
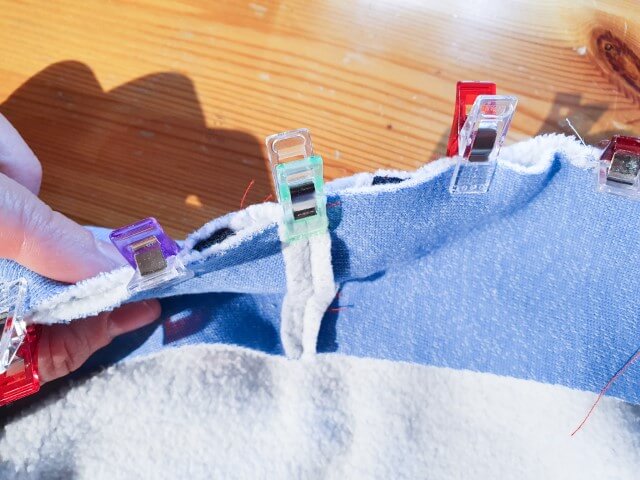
Sew the jacket lining up to the point of attaching the hood or collar to the lining. Before attaching the hood and/or collar, place your loop centered at the back on the right side of your body lining piece. Tack or pin in place. Again, I prefer to tack it down as it adds more strength at the loop attachment. Sew your hood and/or collar on as described in the tutorial, sandwiching the loop between the lining body and collar/hood lining.
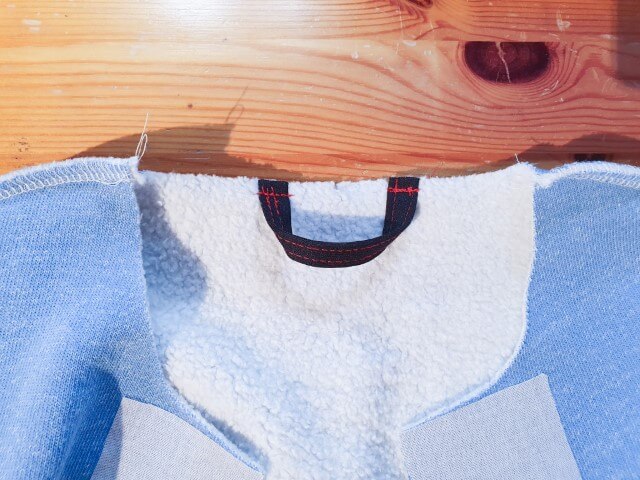
When you've finished assembling the jacket, I recommend topstitching/stitching in the ditch along the neck seam to keep it in place and reinforce the loop one more time.
And you're good to go!
Thanks for reading, I hope this little tutorial was helpful to you, I'd love to see your creation in the Goober Pea Designs Facebook group if you'd like to share! 😃
If you don't have this pattern yet, you can use code HANGINGLOOP to get 20% off the Quadra Jacket! (Not combinable with other discounts)