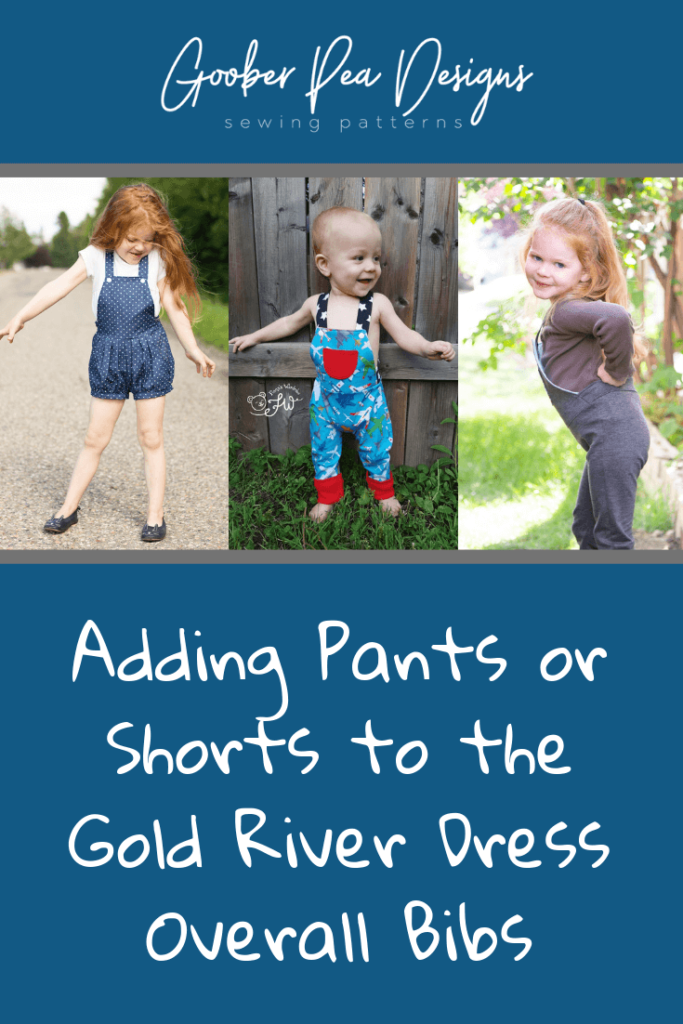
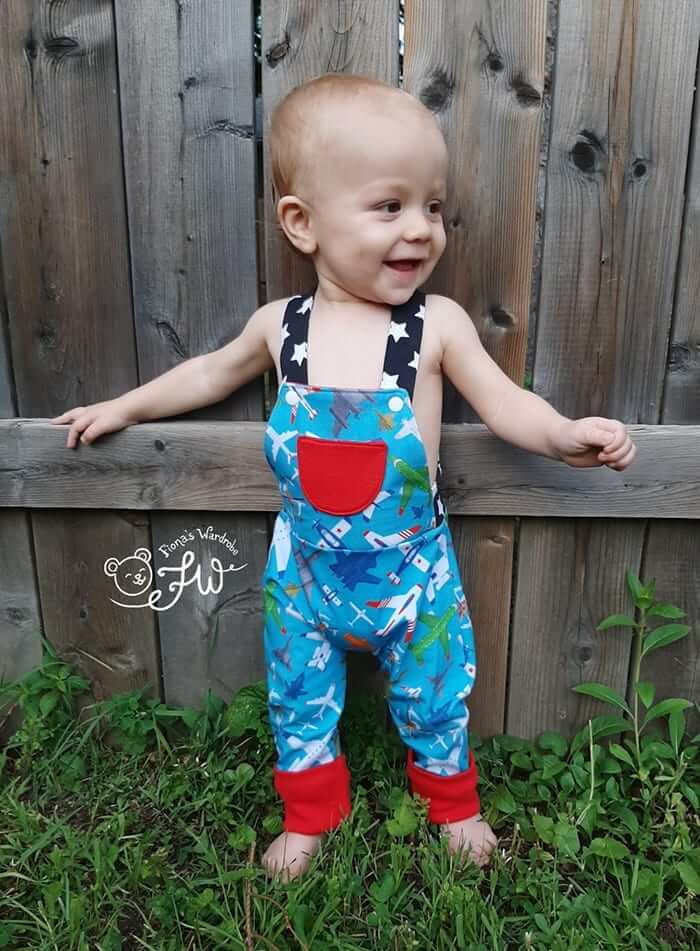
Gold River Overalls - mashups with pants or shorts patterns
The NEW no-placket version of the Gold River Adventure Dress makes it super easy to mash up the top of the dress (bibs/waistband) with some shorts or pants from another pattern! Simply sew your pants or shorts, leaving the waistband off, and then sew them together with the overall top at the waist, just as you would with the skirt.
Note: this will be easiest with pants/shorts patterns that have a separate waistband, which can be left off. It can be done with patterns that have a folded casing instead of a waistband, but you may need to remove some of the rise (depending on the height of the rise), and may need to gather the top of the pants/shorts to the size of the overall top, since there is no longer a full elastic waistband to gather it for you.
We have tried this out with a few different patterns now, and wanted to share our best tips for a successful mash up. There are a number of variables in pants patterns (rise, fit, knit/woven fabric, etc) that need to be considered. Here are our examples to help you when considering possible adjustments. Keep in mind, torso length will vary by child too, so I recommend doing a test from inexpensive fabric before cutting into anything pricey or precious.
As with the original Gold River Dress, the side elastic should only be skipped if your fabric is quite stretchy with good recovery.
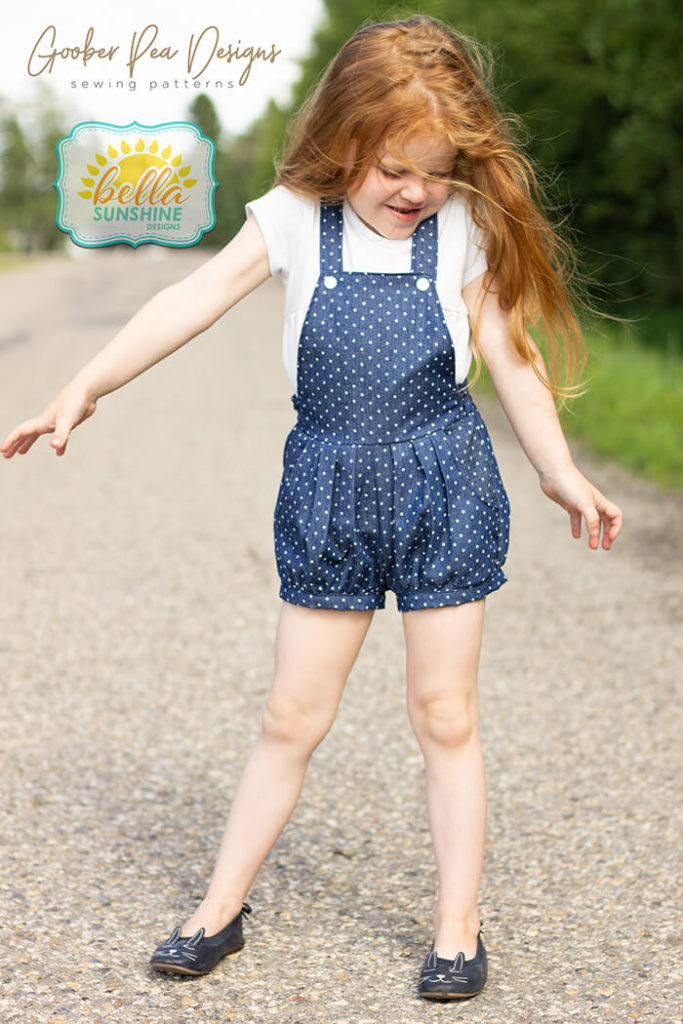
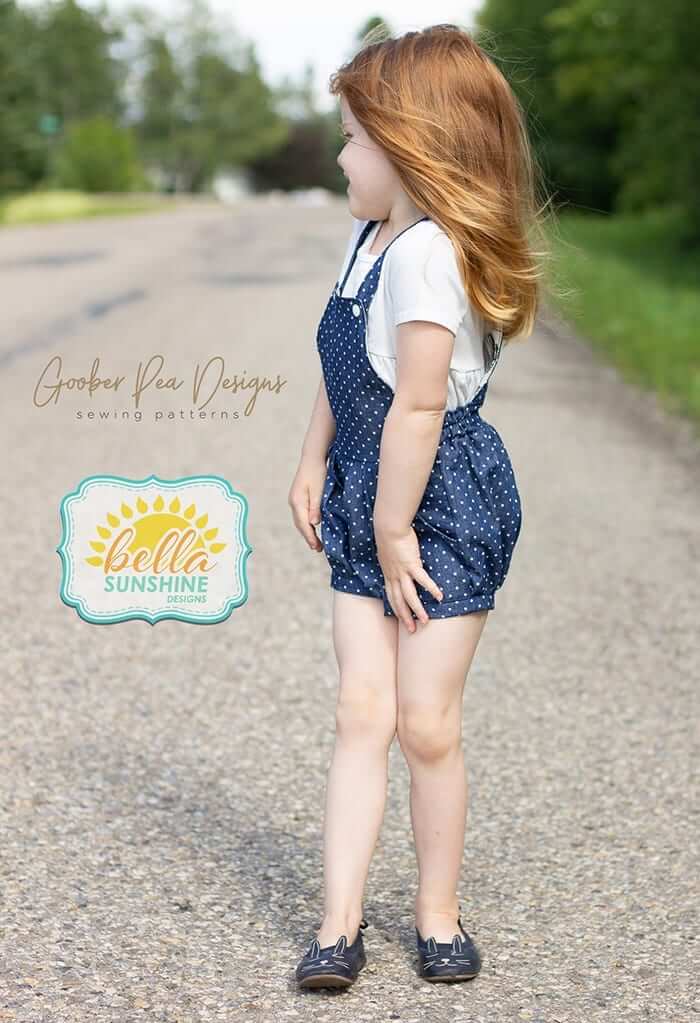
- Woven shorts, medium rise – this mash up was done with the Rose Bubble Shorts by Bella Sunshine Designs. I did not make any adjustments to the measured Gold River size, but I did add a tiny bit of height to the shorts rise, using the size blending techniques shown in this blog post. I blended up 1 size in the rise. Verdict: super adorable!!! BUT, if I was doing it again, I would add a bit more to the rise (up 2 or 3 sizes), and add a bit of height to the front bib as well (deducting the equivalent amount from the straps). NOTE: the Rose Bubble shorts has a separate waistband that I left off, but since it had elastic in the back waistband, I did need to gather the back of the shorts to reduce the width, so it would fit nicely with the Gold River top, which only has elastic in the sides.
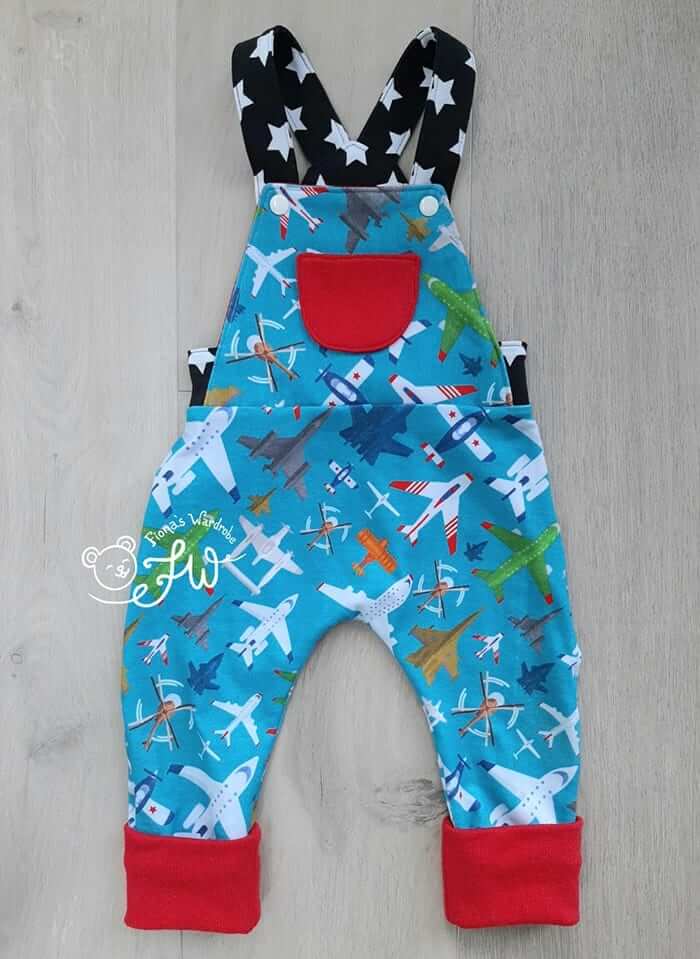
2.Knit grow pants, medium to high rise – this mash up was done by Dee Jacob-Olsthoorn, with the Bunny Bottoms by Apple Tree Sewing Patterns. There were no adjustments made to rise or bibs. Verdict: Crazy cute, but definitely needs some more height on the bibs. It needs probably 1-1.5″ added to both front and back bibs, and most of that amount deducted from the straps to compensate. Maybe a bit added to the rise as well.
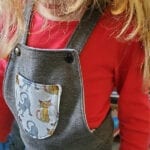
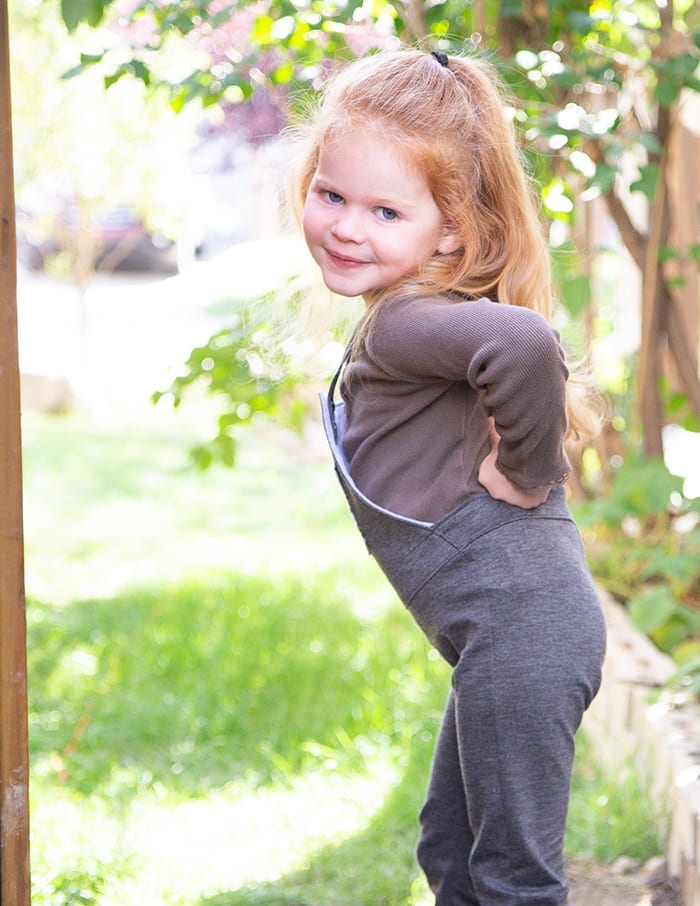
3. Knit pants, low to medium rise – this mash up was done with the Lovely Rita Skinnies by Shwin Designs (slightly modified – cuffs added). There were no adjustments made to rise, 1″ height was added to front and back bibs. Verdict: Definitely lovely, but needs some more height on the rise, and some length deducted from straps. When I first put them on her and she was sticking her little toddler belly out, the sides were bowing quite badly (see photo with the red shirt). I did some research and found that this will happen with overalls on toddler bellies if the waistband falls below the natural waist. If you raise it up, the bowing goes away. Thankfully I didn’t need to adjust this pair, as my daughter stopped sticking her belly out, haha!
Here is a summary of the tips that we have gleaned from these trials:
- Unless your pants/shorts already have a high rise, you will likely need to add to the rise (especially if your child has a prominent belly). You can use the method found in this size blending tutorial to increase the rise.
- Unless your child has a very short torso, you will likely need to add some height to the bibs, and deduct the equivalent amount from the straps. Use the size blending instructions in the Gold River tutorial to adjust your bibs.
Have fun testing this out, and please share your mash-ups on the Facebook group!!