How to Add Arm Holes to ANY Car Seat Poncho!
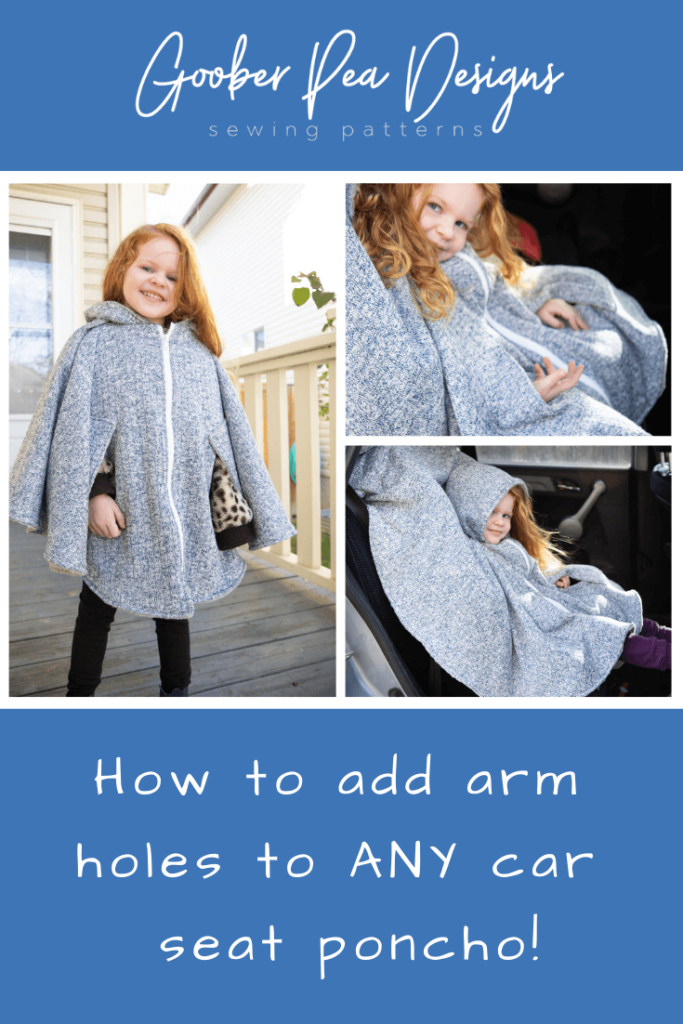
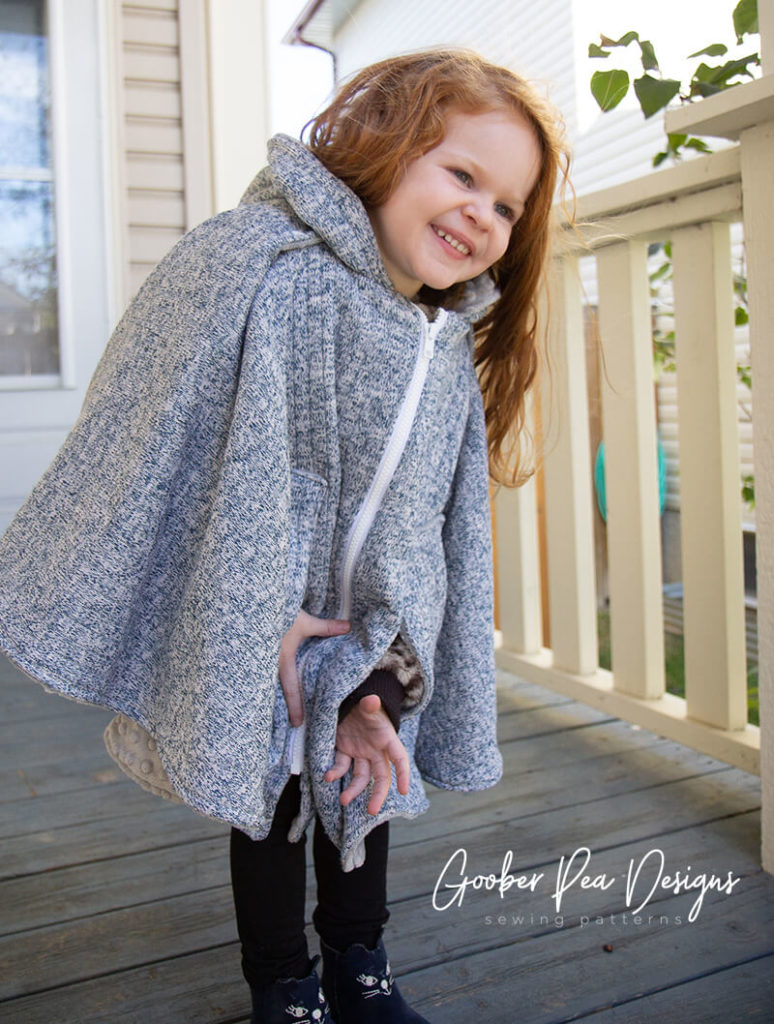
Are you planning to sew a car seat poncho, like maybe the zippered/size adjustable Goober Pea Pod (shown in this tutorial) or the FREE Snuggle Bunny Poncho, and want to add on some arm holes? Here’s an easy (and cute!) way to do it! You can even add them to ANY existing car seat poncho!!
STEP A – Using a washable marker, draw two matching ovals approx 1 inch (2.5cm) wide for your armholes. You can make them as long as you like – these are about 6” (15cm).
Then carefully cut them out, through all layers.
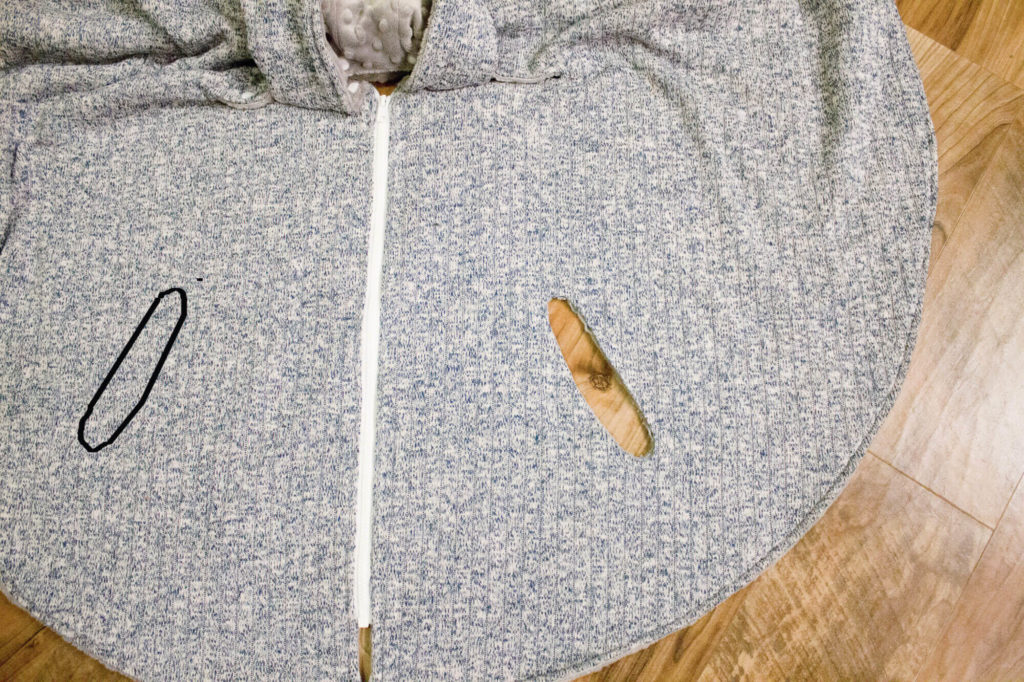
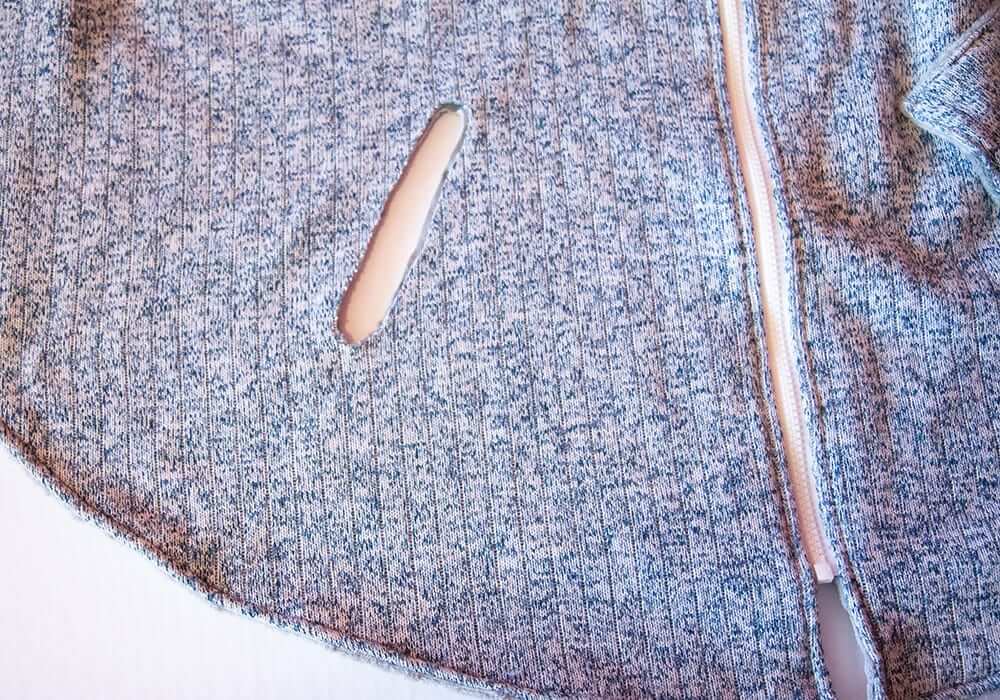
STEP B – Finish the edges of your armhole. This can be done in a number of ways – for this tutorial I used a different method on each armhole. On the first one, I turned the edges under and ladder stitched them together.
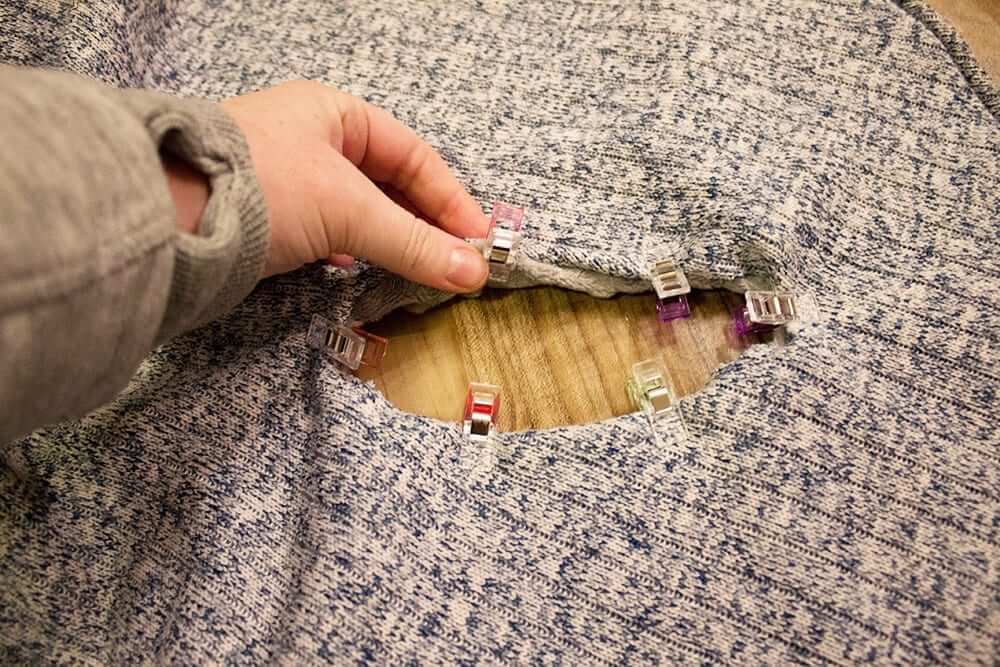
To use this method, fold the edges under (towards the wrong side) by 1/4 inch (6mm) and pin or clip – do this around the entire armhole.
Then stitch it shut by hand using a ladder stitch. If you are not familiar with a ladder stitch, see it here: https://www.youtube.com/watch?v=uqrTtitjdnY
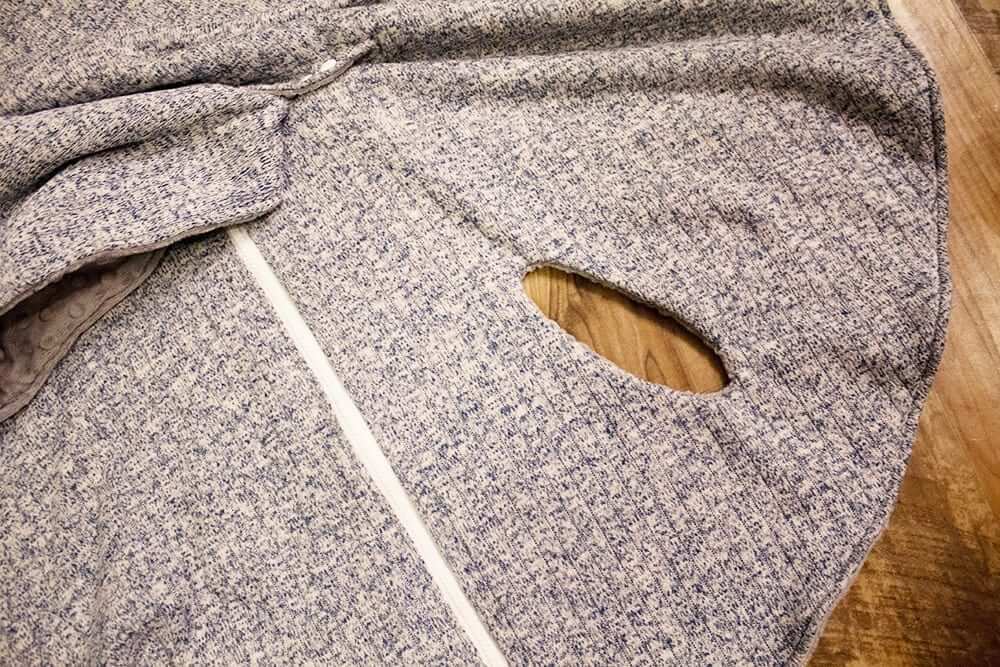
For my second arm hole, I enclosed it with fold over elastic. I would suggest using 1″ fold over elastic for this – I used 5/8″ and it was tricky, but by using a zig zag stitch I was able to secure all the edges. This could also be done with bias tape.
Some other alternative methods would be to simply serge/zig zag the edges together, or if using non-fraying fabric like fleece, you could stitch around the hole without folding under – leaving the edges raw.

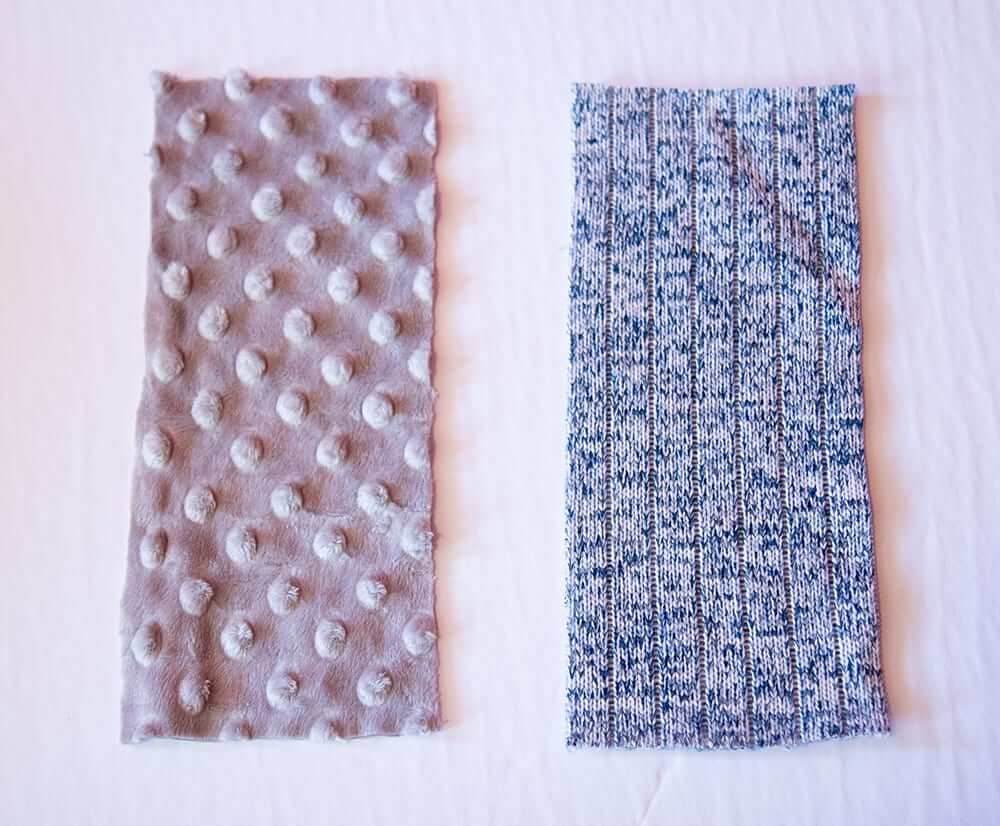
STEP C – Now that your armhole edges are finished, you need to cut four rectangles (two main and two lining) big enough to cover your armhole by about 1.25” (3cm) in all directions. This means they should be about 3.5 inches (9cm) wide (since your armhole is 1” wide) and 2.5” (6cm) taller than your armhole. The armhole in this example is 6” (15cm) tall, so the rectangles are 8.5” (22cm) tall.
Sew one main and one lining rectangle right sides together, using 1/4″ seam allowance, leaving a gap for turning on one side. Clip the corner of the seam allowance diagonally.
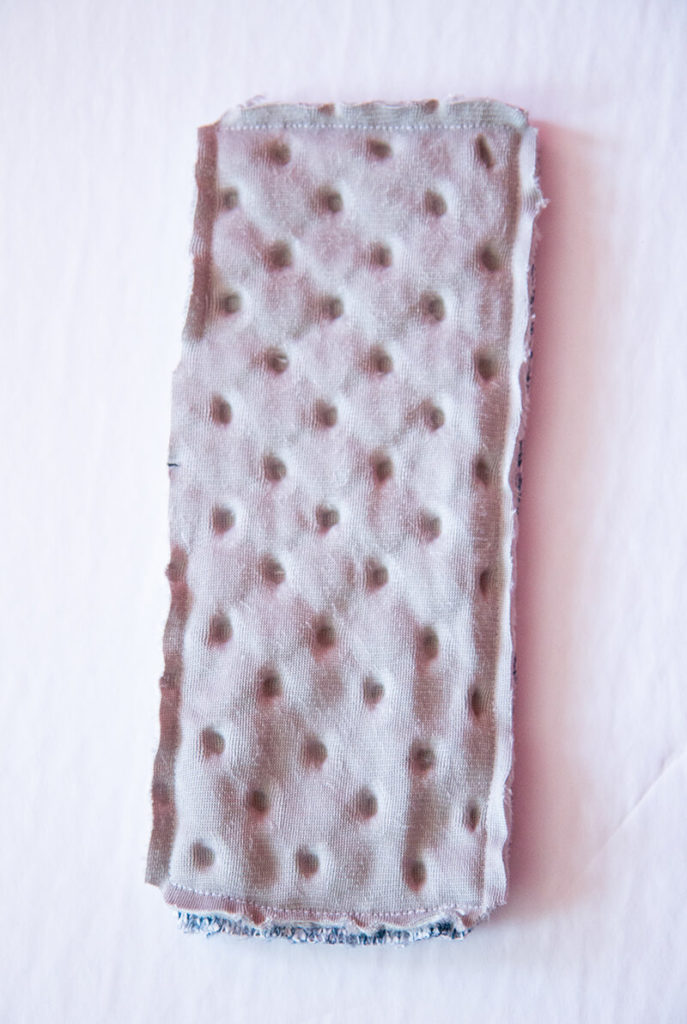
Turn your rectangle right side out, and poke out the corners with a blunt object (like a chopstick). Then fold the gap edges together and topstitch along the edge with the gap ONLY.
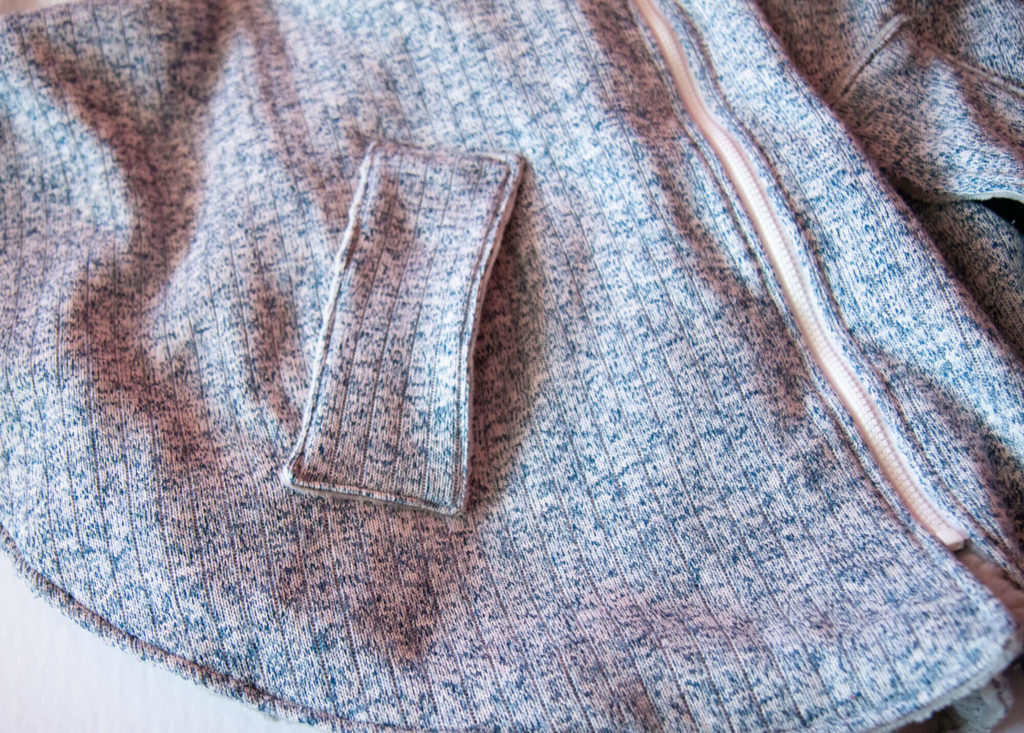
Finally, cover the armhole with your rectangle, and topstitch it on, along the three remaining sides. The previously stitched edge should be towards the center of your poncho.
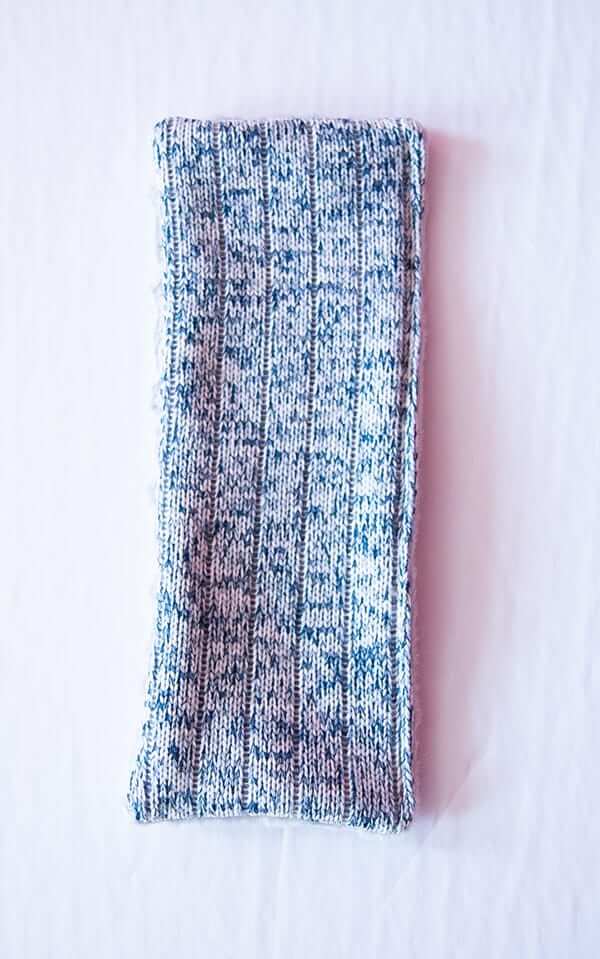

And you’re done!! Now your kiddo can enjoy being cozy warm, but still being able to use their hands in the car!