How to Add Trim to the Talia Tiered Skirt
Trim is a fantastic way to add contrast when making the Talia Tiered Dress skirt (FREE pattern) in a single fabric color or print! You can either use store bought piping (but it must have stretch, if you want to use it at the waist seam) or make your own from knit fabric!
You’ll need 6 strips of piping/trim – 2 that are the width of the bottom of your bodice, 2 that are the width of tier 1, and 2 that are the width of tier 2.
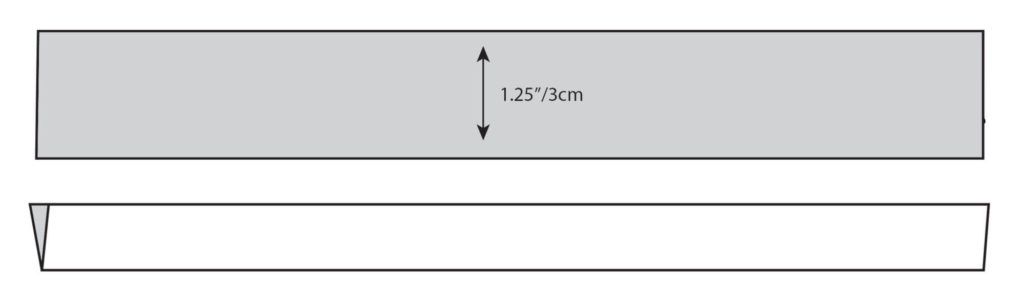
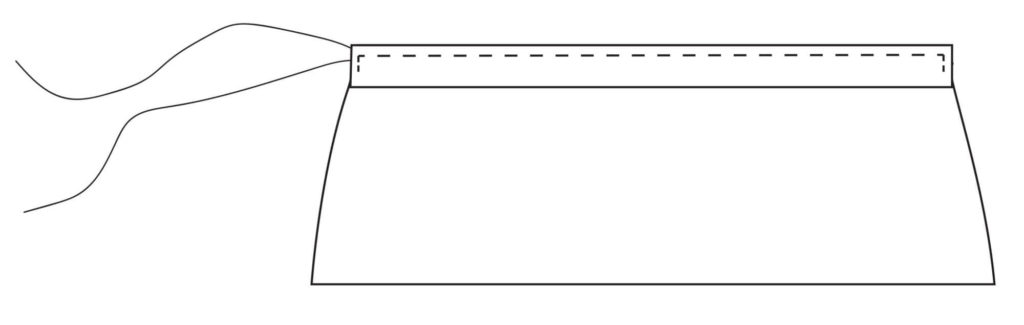
If cutting your own trim, the strips should be 1.25″ or 3cm tall – this will give a finished trim of 1/4″ that will show outside the seam.
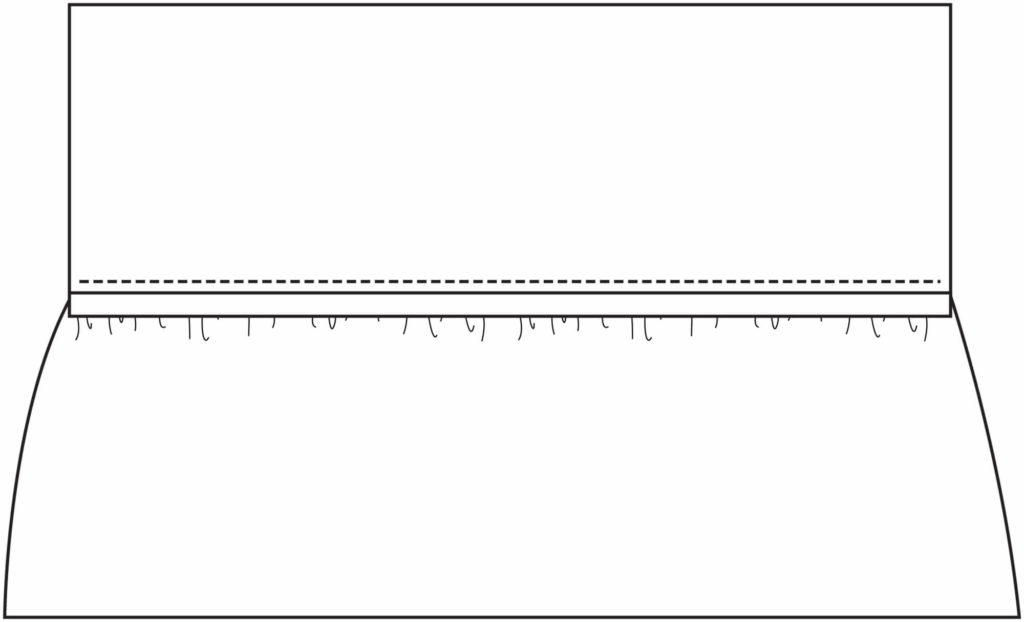
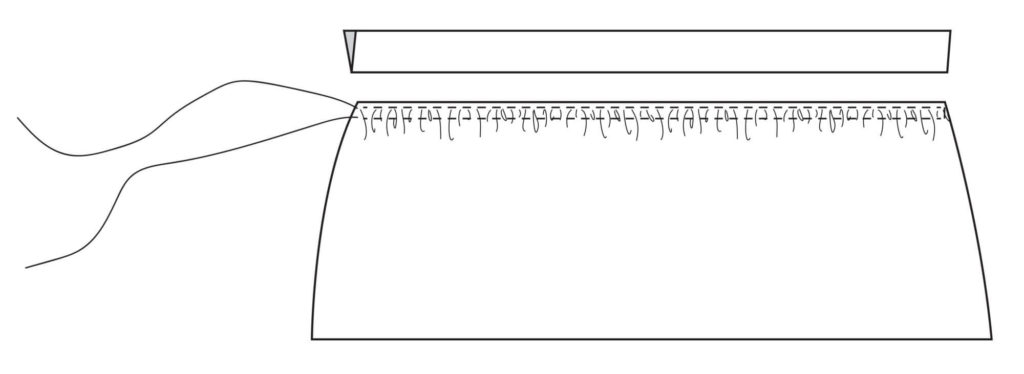
After folding your trim in half (so it is now 5/8″ thick), baste it to the gathered top of each skirt tier (the widest one on tier 3, the middle on tier two, and the narrowest on tier 1). Then sew your skirts as normal, sandwiching the trim between the skirt tiers.
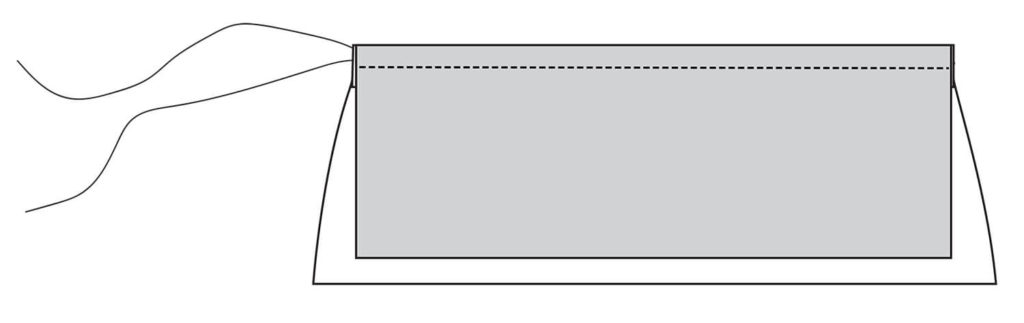
In the original pattern, topstitching the skirt seams is optional. However, when using trim, you will definitely want to press the seams UP towards the bodice and topstitch in place, to make sure your trim does not flip up.