Snap hack for the Stylin' Snuggler
For a quick and easy Stylin' Snuggler, you can swap out the zipper for snaps! Here's how to do it:
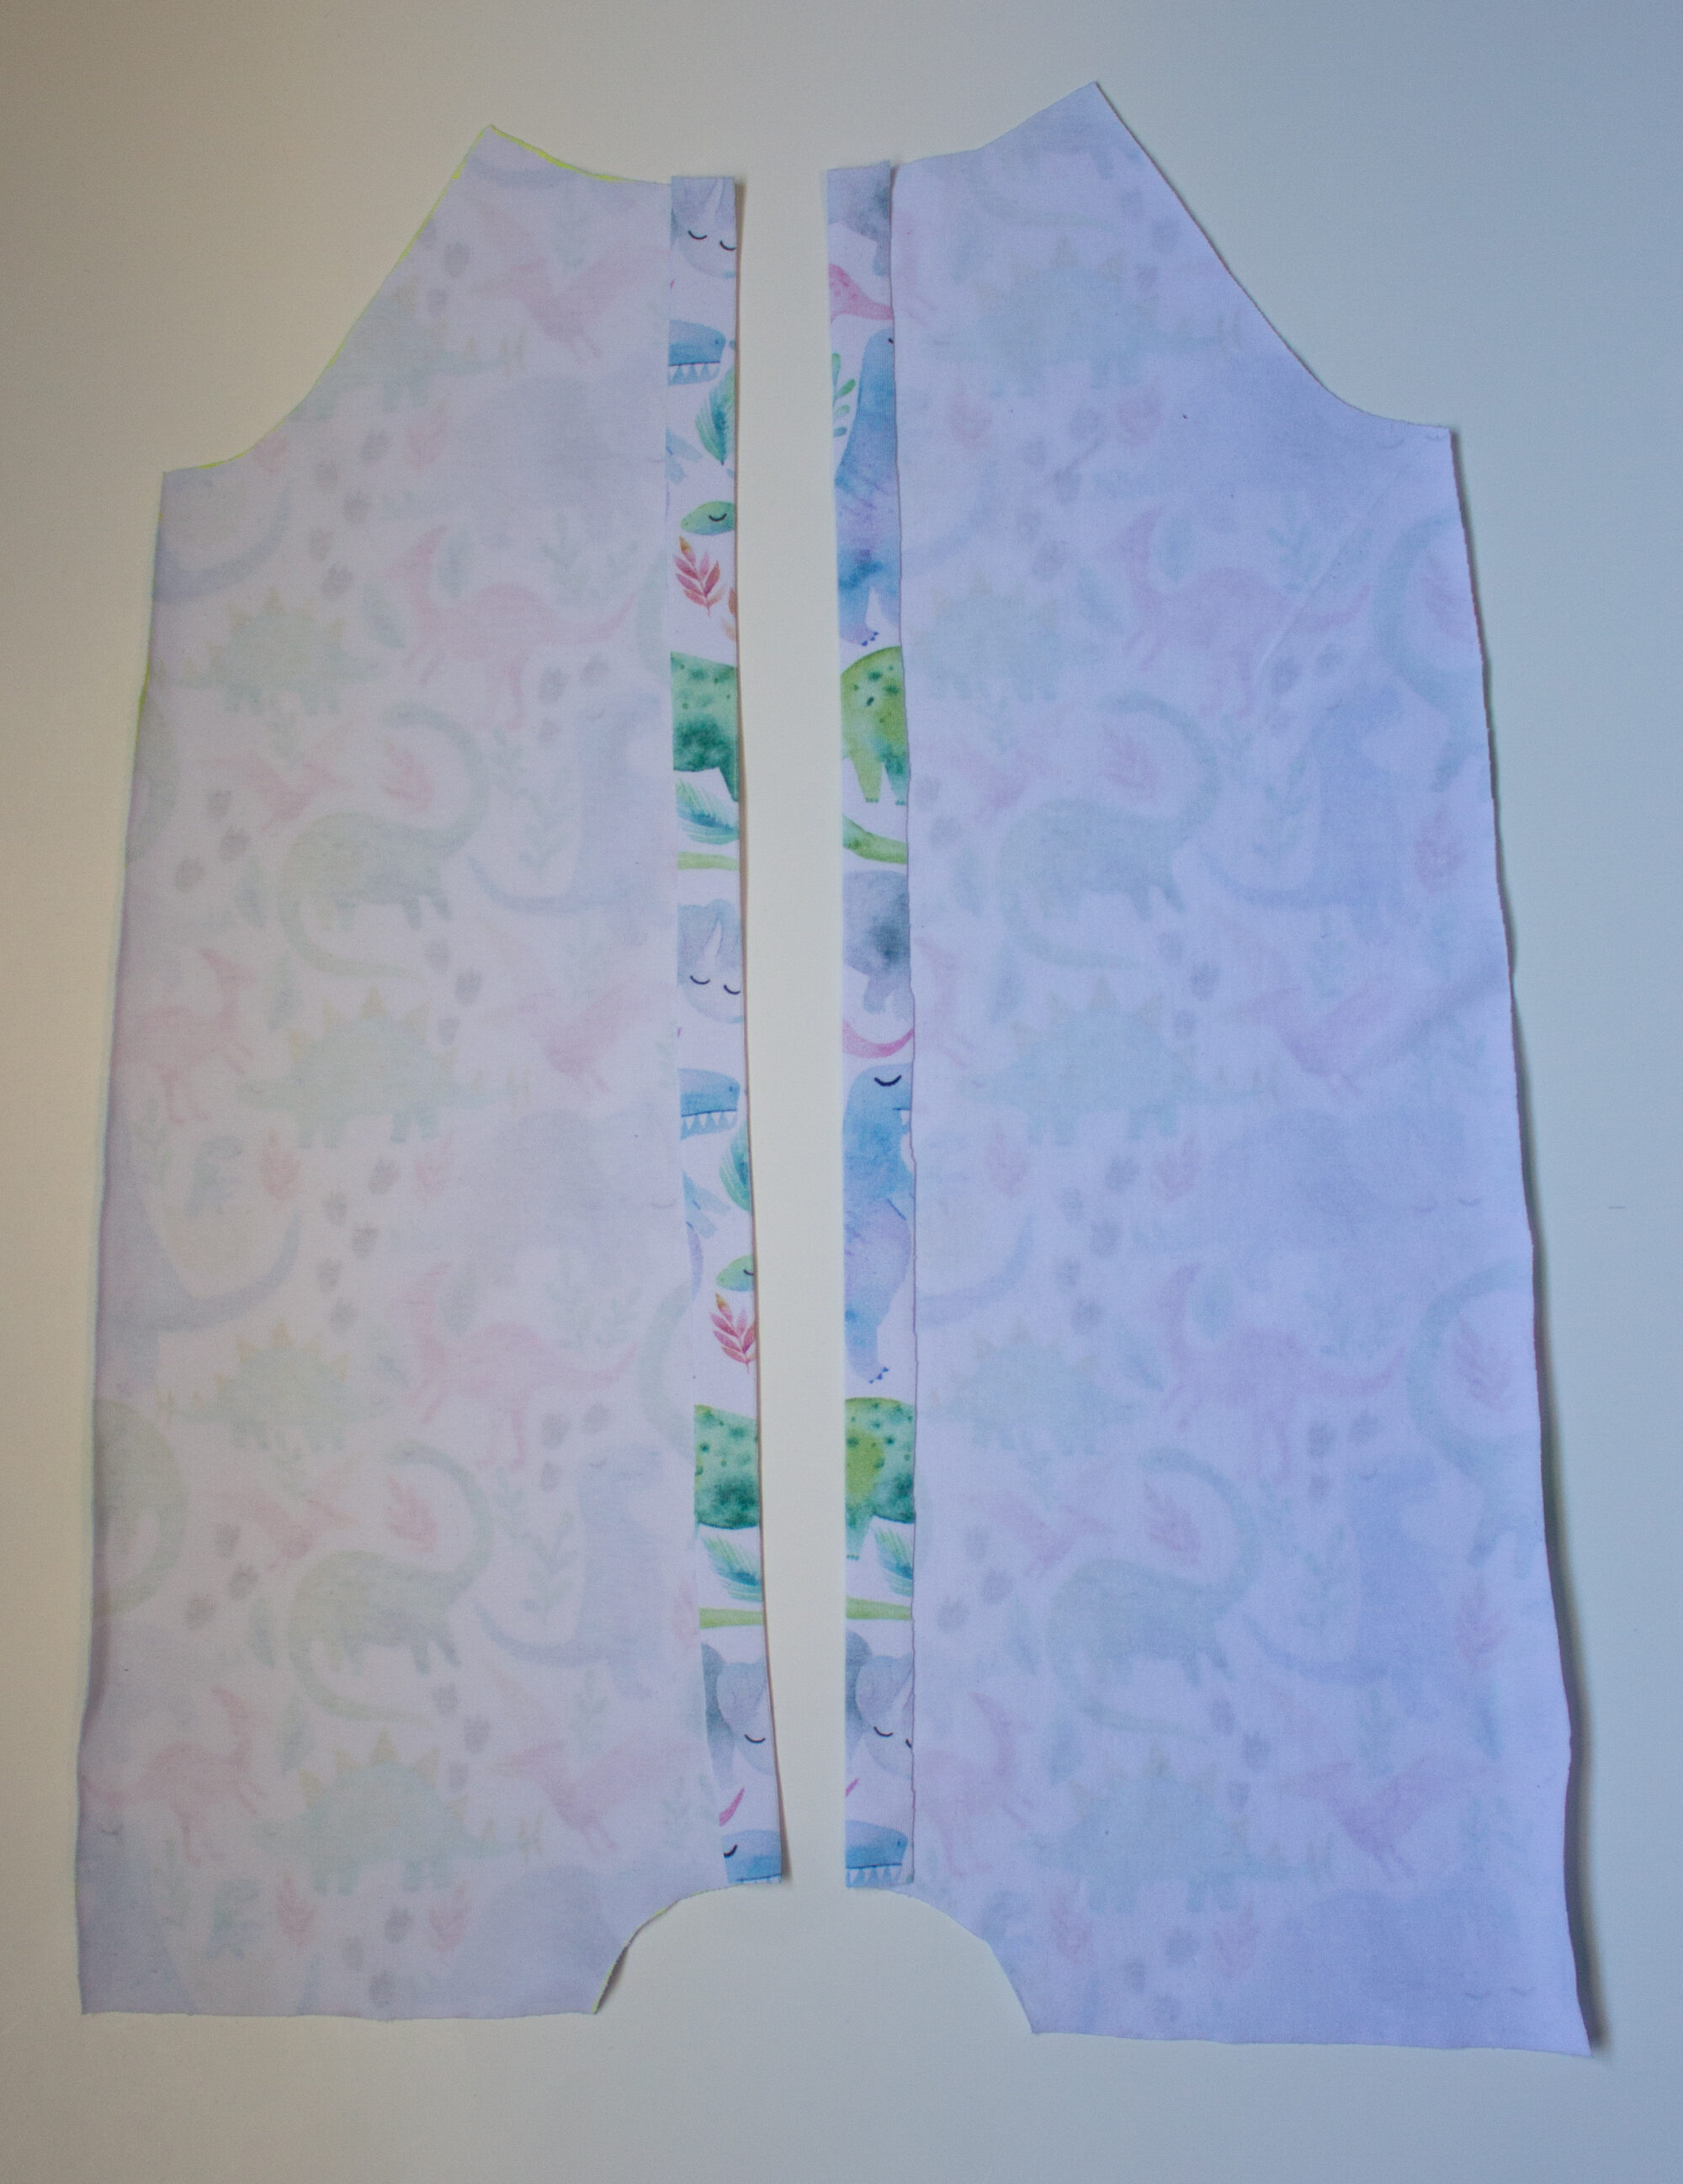
- Add 3/4" extra seam allowance (shown in red below) to your front pieces (or back, if you are putting the snaps on the back)
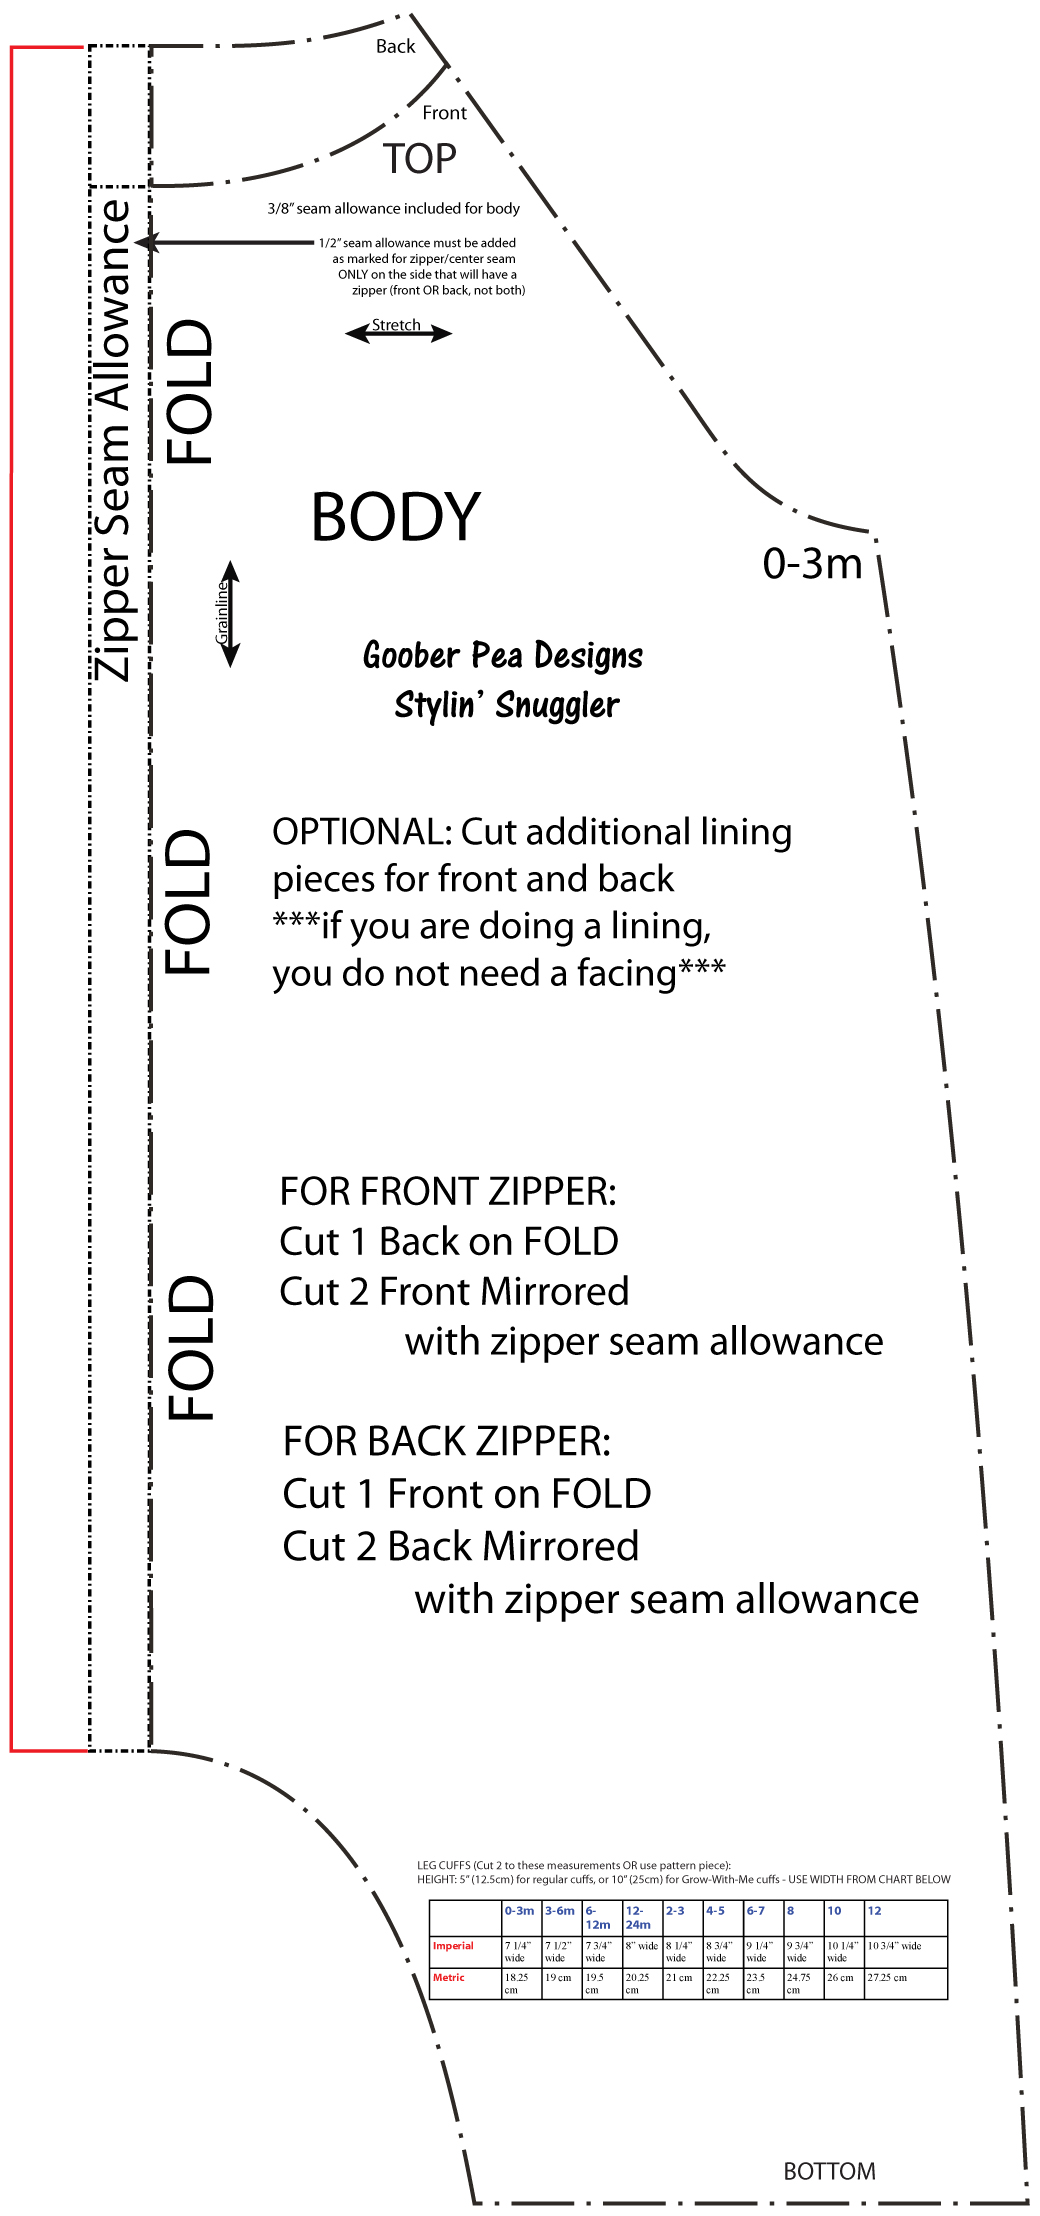
- Next, cut and apply a strip of fusible interfacing (1/2" wide) to the center edges, as shown below.
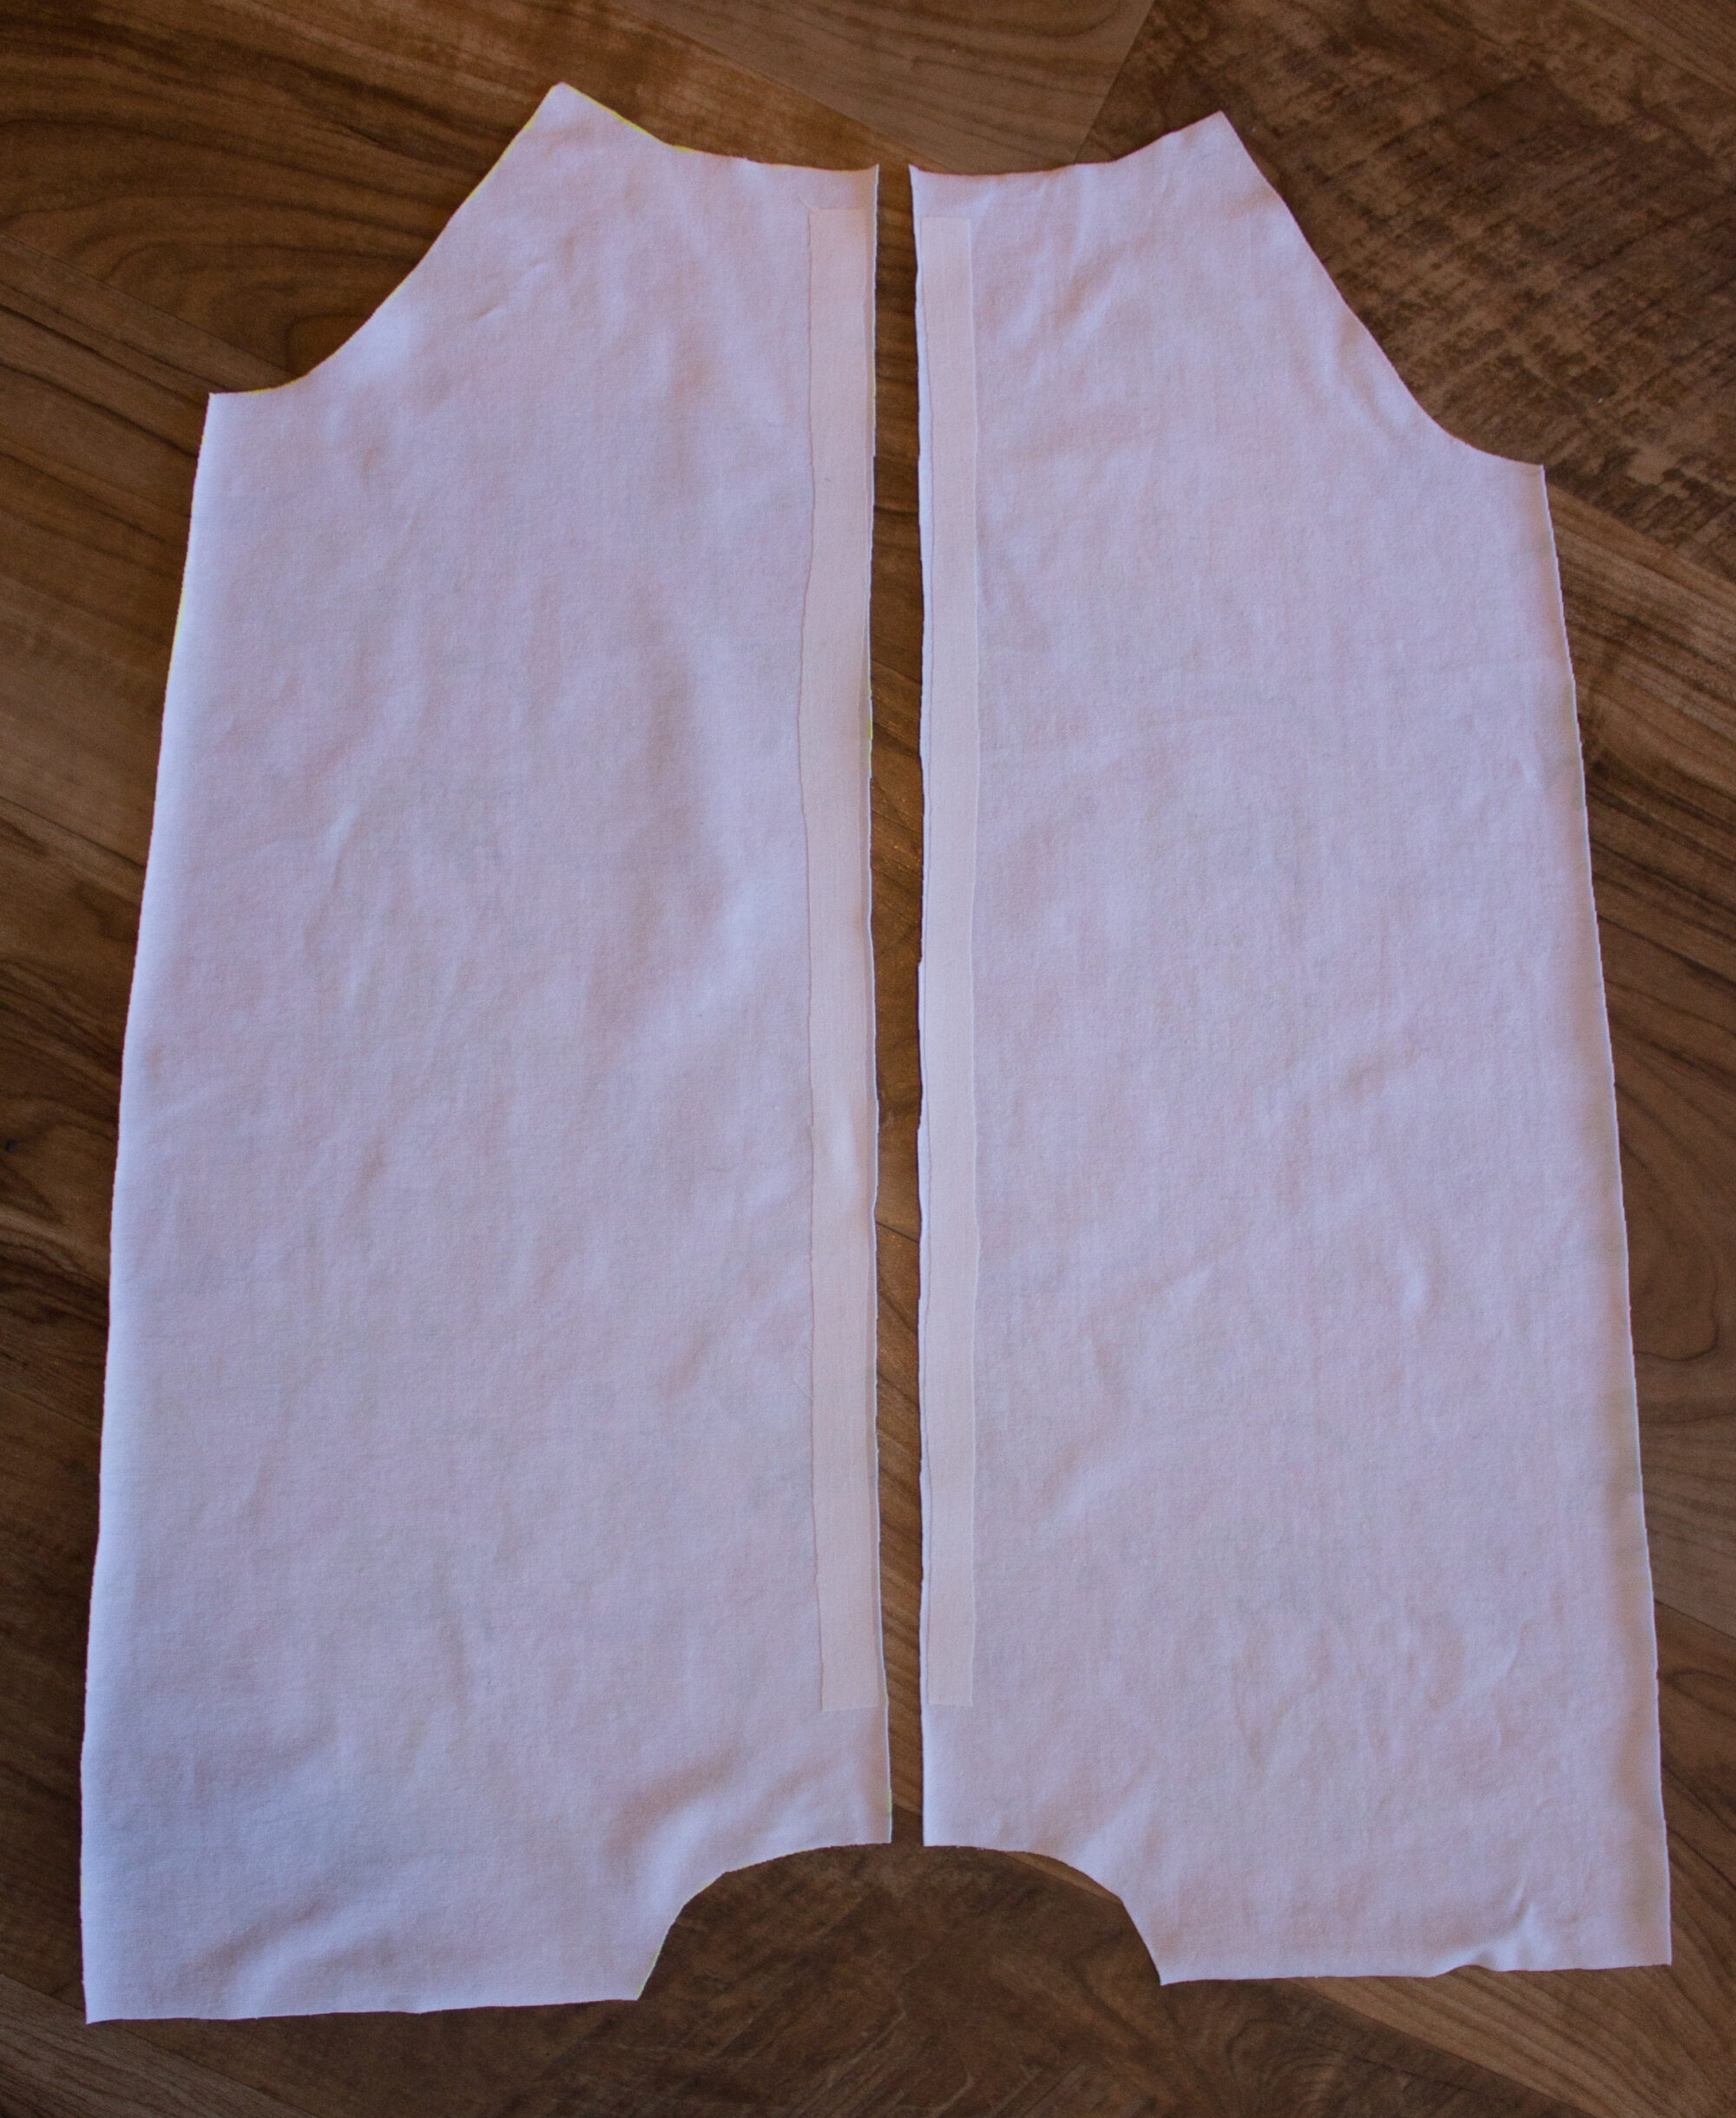
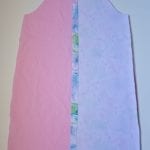
- Fold the interfaced edges (towards the wrong side, so the interfacing is inside the fold) and press. Fold should be approximately 3/4".
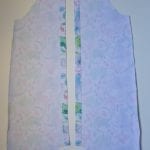
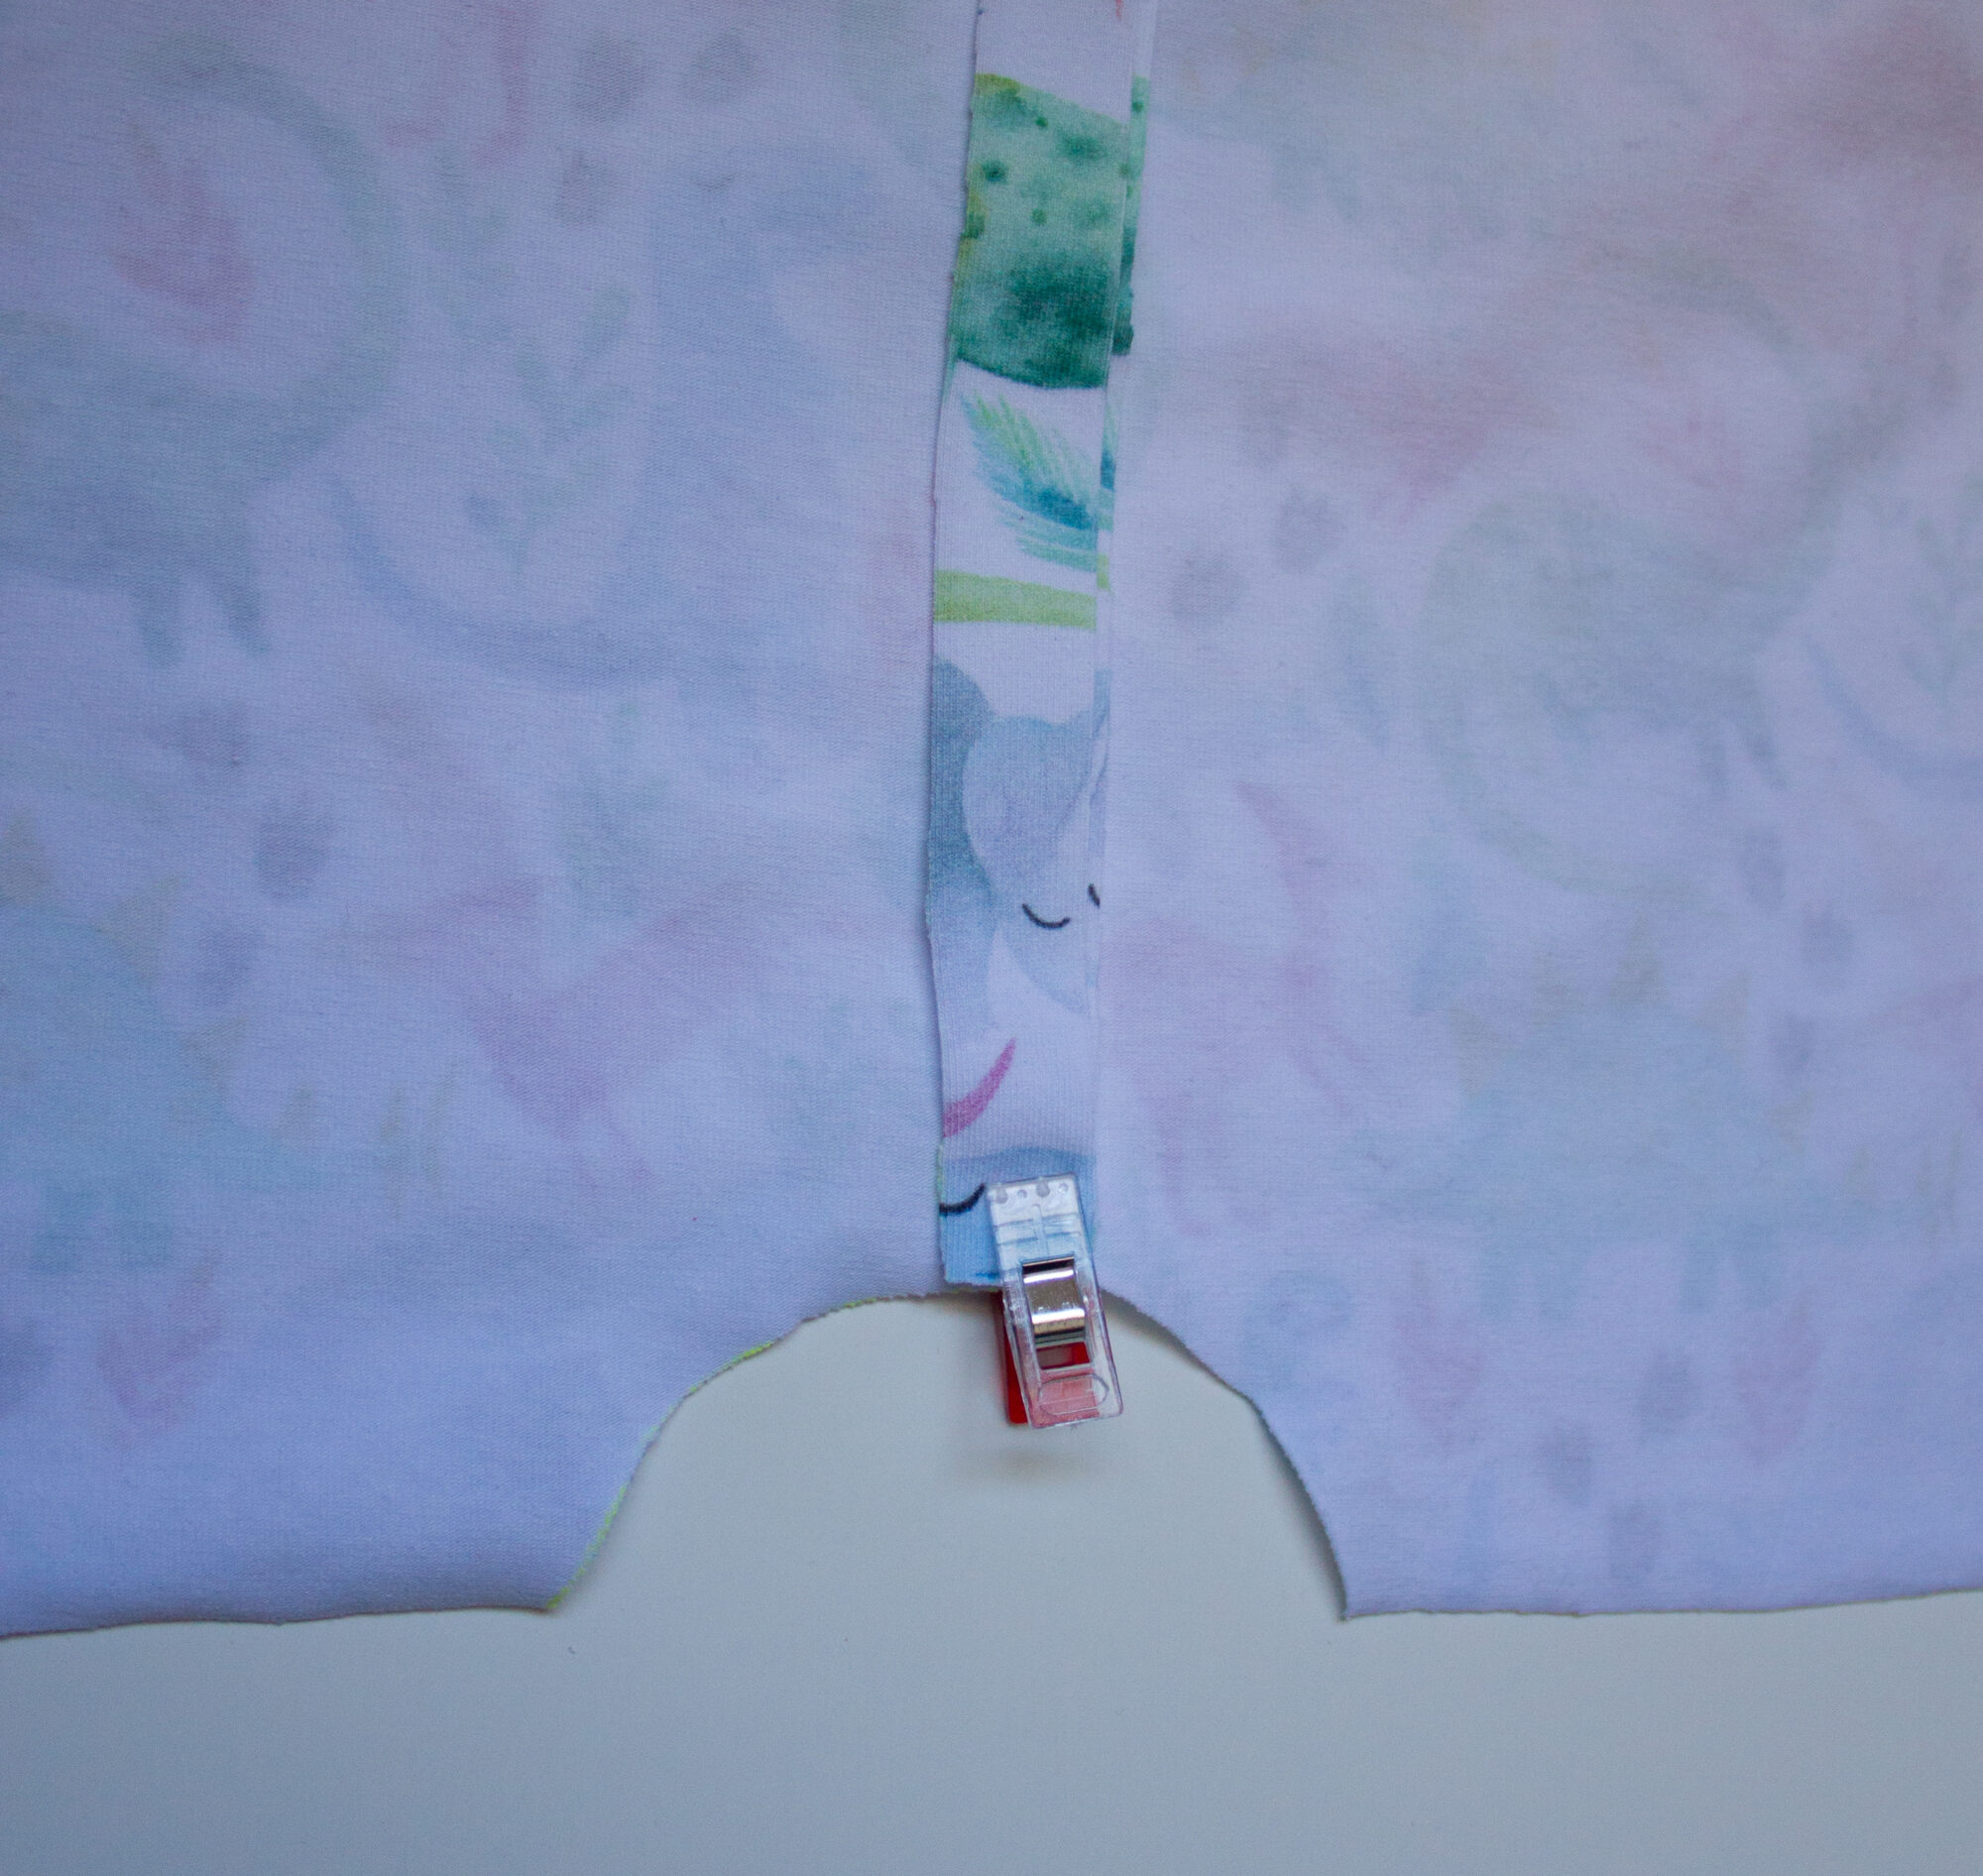
- Lay your back piece (or front, if snaps are going on the back) out flat, and overlap the front pieces (or back, if snaps are going on back) on top. The front edges should overlap by approx 3/4", but as long as it is at least 1/2", you will have enough room to apply the snaps.
-
- Using a washable marker or chalk, mark how much the pieces should overlap at the crotch, and then leave the pieces separate until you are ready to sew the crotch seam.
- Sew your front/back/sleeves together along the shoulder seams, in the same way as the original pattern.
- Apply the neckband, in the same way as the original pattern (there is a very helpful video in the tutorial). OPTIONAL: Topstitch neckband
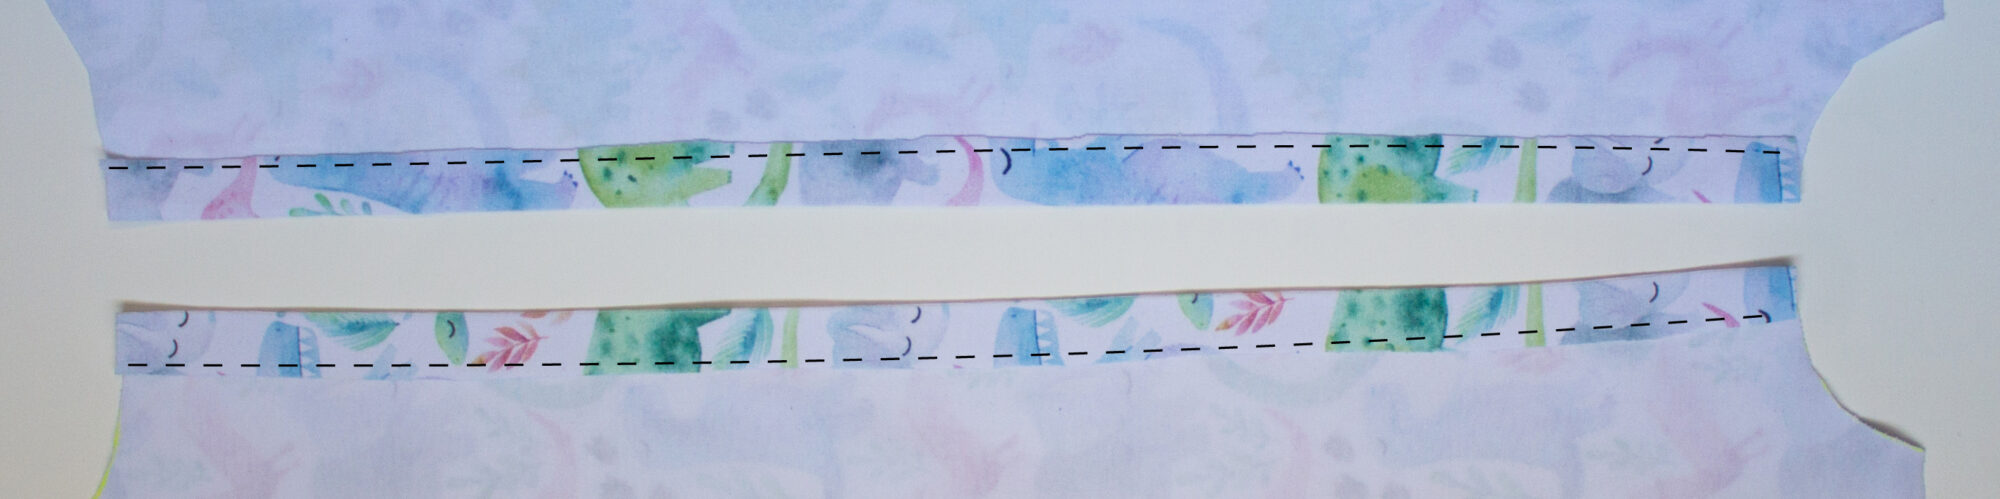
- OPTIONAL: Topstitch along the raw edges of the interfaced area.
- Sew your side seams and crotch seam, overlapping the edges so the front and back crotches match.
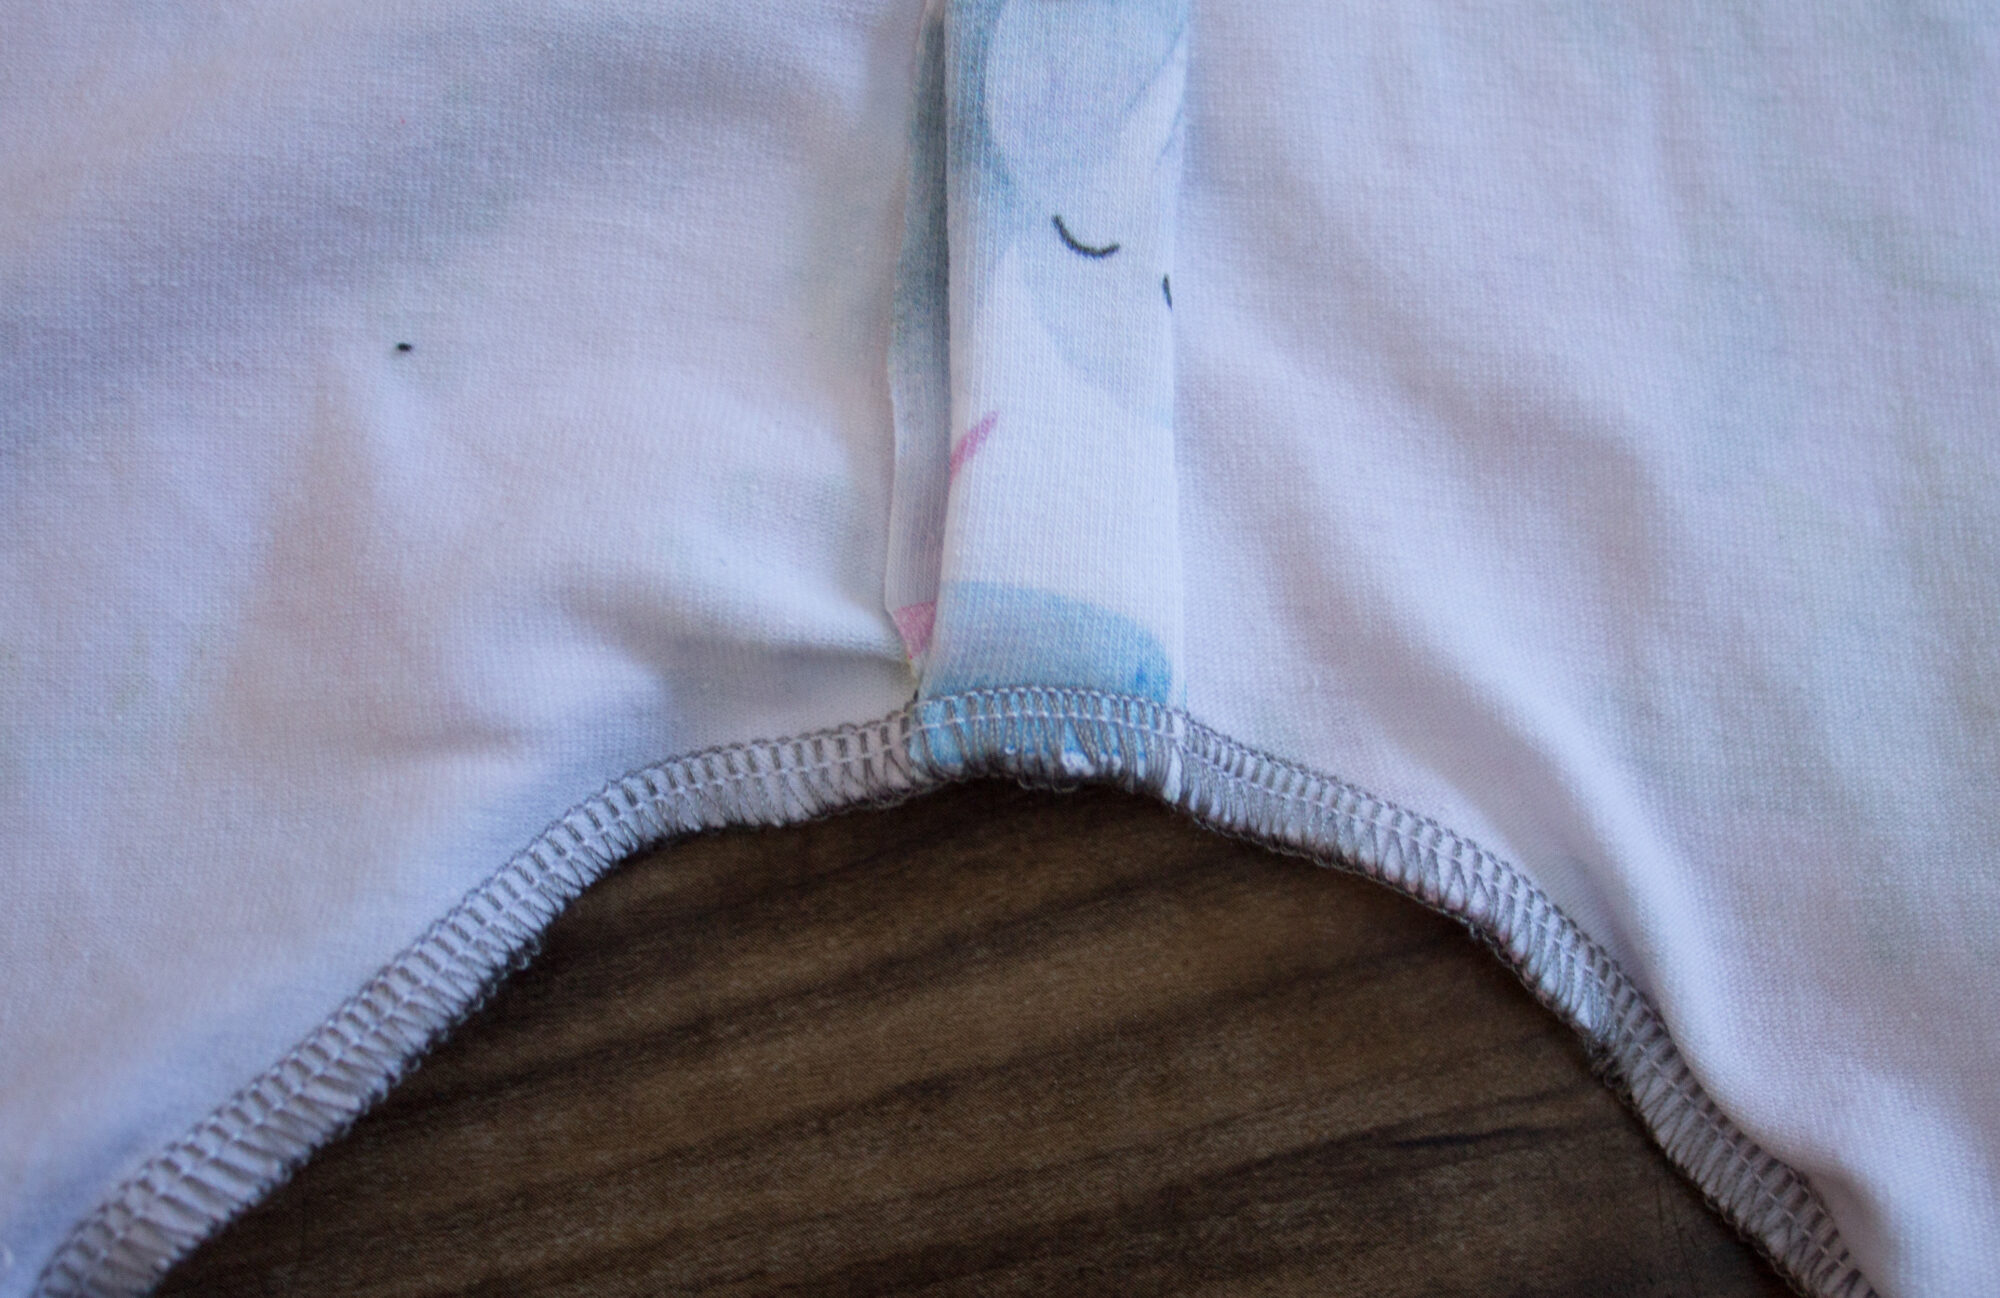
- Add your bands/hem in the same way as the original pattern.
- Apply your snaps in the center of the interfaced area, using your preferred spacing.
-
- And you're done! PLEASE NOTE: the shorts length is not included in the original pattern, separate hack instructions for that are in this blog post.
-