Non-reversible Stellar Sleep Sack with feet/cuffs
The new footed/cuffed version of the Stellar Sleep Sack is designed to be reversible, but in some cases you may want to do an easier non-reversible construction method – particularly if you do not wish to line the feet. This blog tutorial will show you how to do this. Note – all seam allowances are 3/8″.
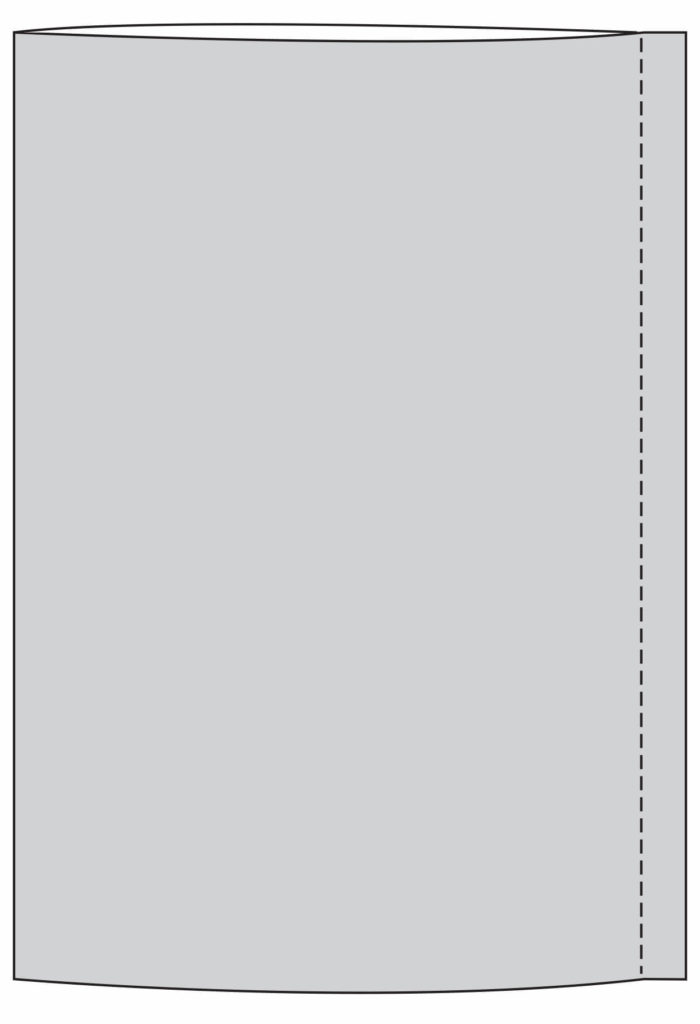
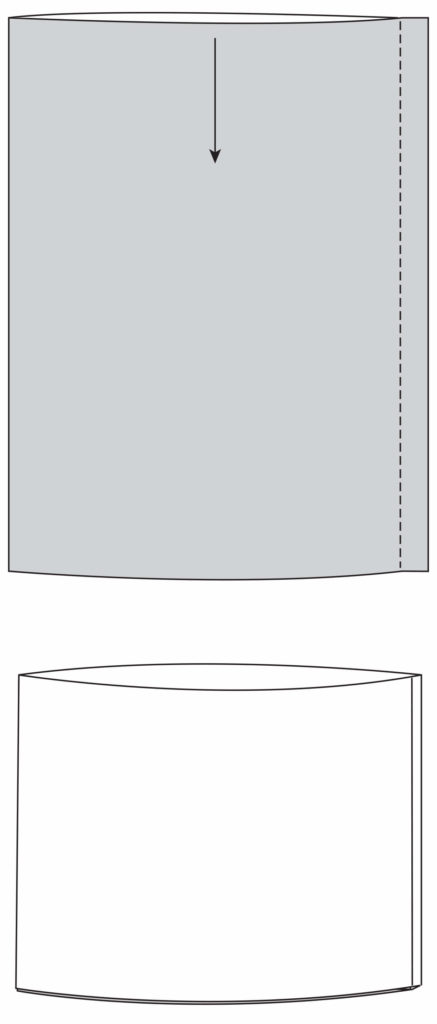
FOR THE CUFF – Sew the side seam of the cuff the same way you do in the regular instructions. Then fold the cuff wrong sides together.
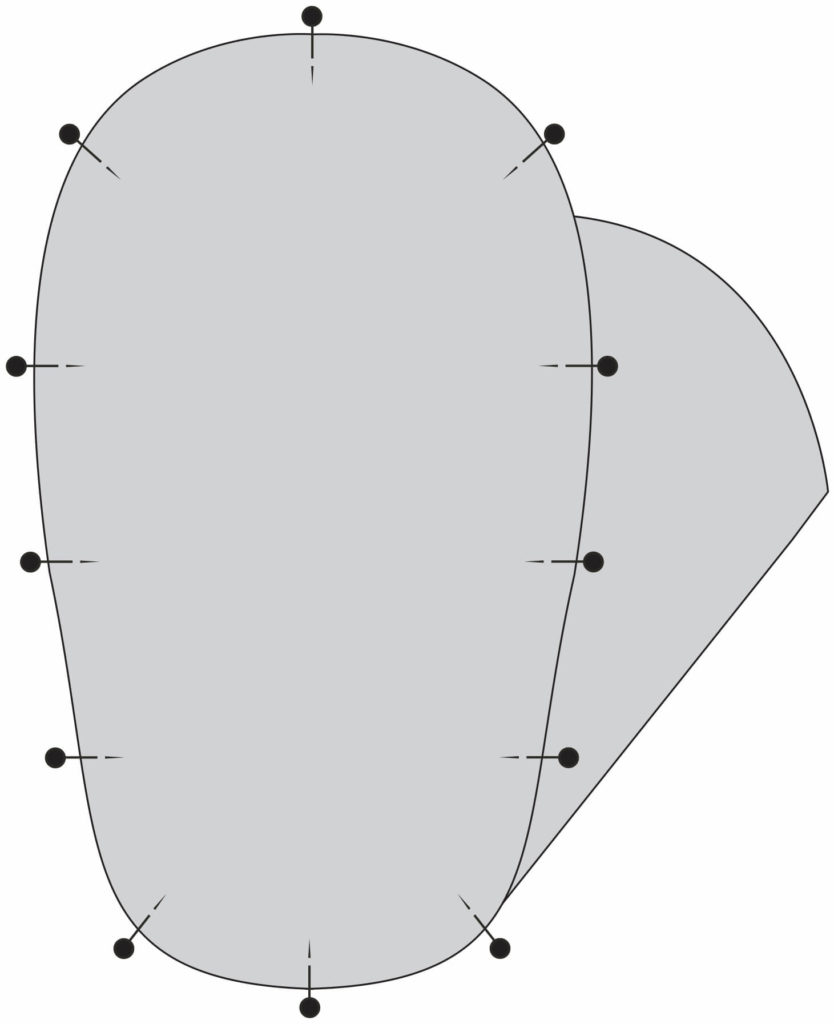
FOR THE FOOT – Cut 2 of each piece only (instead of the 4 total – 2 main 2 lining – that you do for the reversible method). Sew the ankle/foot the same way you do in the instructions. Then sew the sole on to the foot, right sides together, as shown below (this is the same technique that is used in the tutorial to sew the sole on in the reversible method – you are just doing it before attaching the foot to the body, instead of after).
Next, complete the regular steps to sew the body of the footed/cuffed sack (except for leaving a gap in the side of the lining – you don’t need to do that since you will be able to turn the body right side out through one of the leg holes). Then turn the body right side out and place the lining and the main wrong sides together.
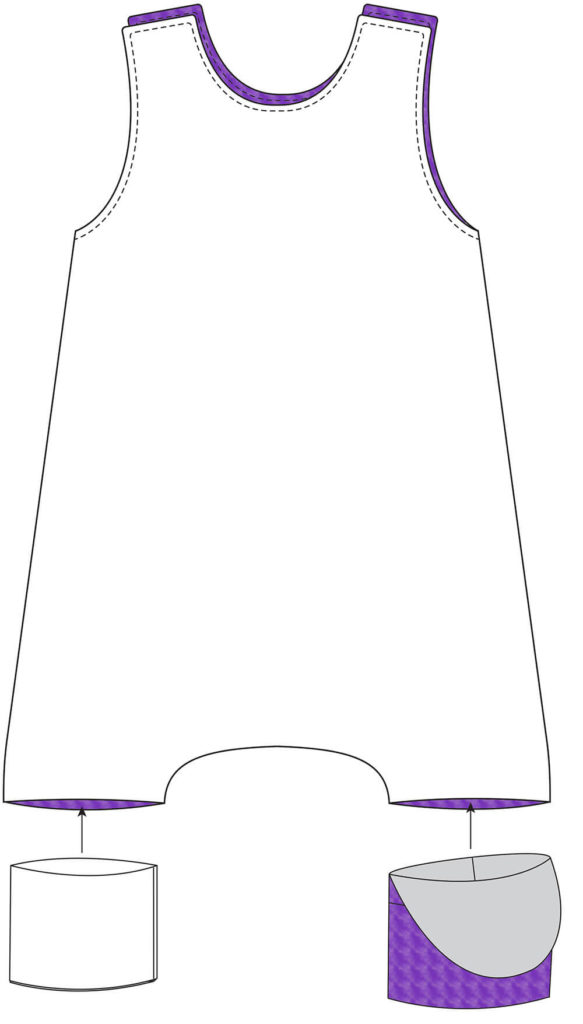
Insert the cuff or foot into the leg hole as shown below. Line up the cuff seam with the inner leg seam. Line up the back seam of the foot with the center of the back of the leg hole. Stretch it gently to fit, and pin/clip in place and sew.
Repeat with other foot/cuff.
Complete the rest of the sack as per the regular instructions (optional topstitching of shoulder tabs and neckline, applying snaps, etc).