How to Add Elastic to the Campbell Vest (or Jacket) Hood
This tutorial shows how to add a elastic in the hood to the vest from the Campbell Jacket and Vest PDF sewing pattern. PLEASE NOTE: the free Basic Campbell Vest and the Campbell Jacket patterns have now been retired, but you can find a similar vest pattern here or a similar jacket pattern here.
This technique can be used in exactly the same way to add an elastic hood to the jacket. Please note, this technique will not work as written with the zipper closure, it would need some modifications - but it will work with the jacket or vest with snaps/buttons/velcro closure.
Step 1 - Sew both the inner and outer vest (or jacket) as per usual. This also works with the waistband hack (do all steps from that hack except the last one, before doing the following steps to add the elastic casing).
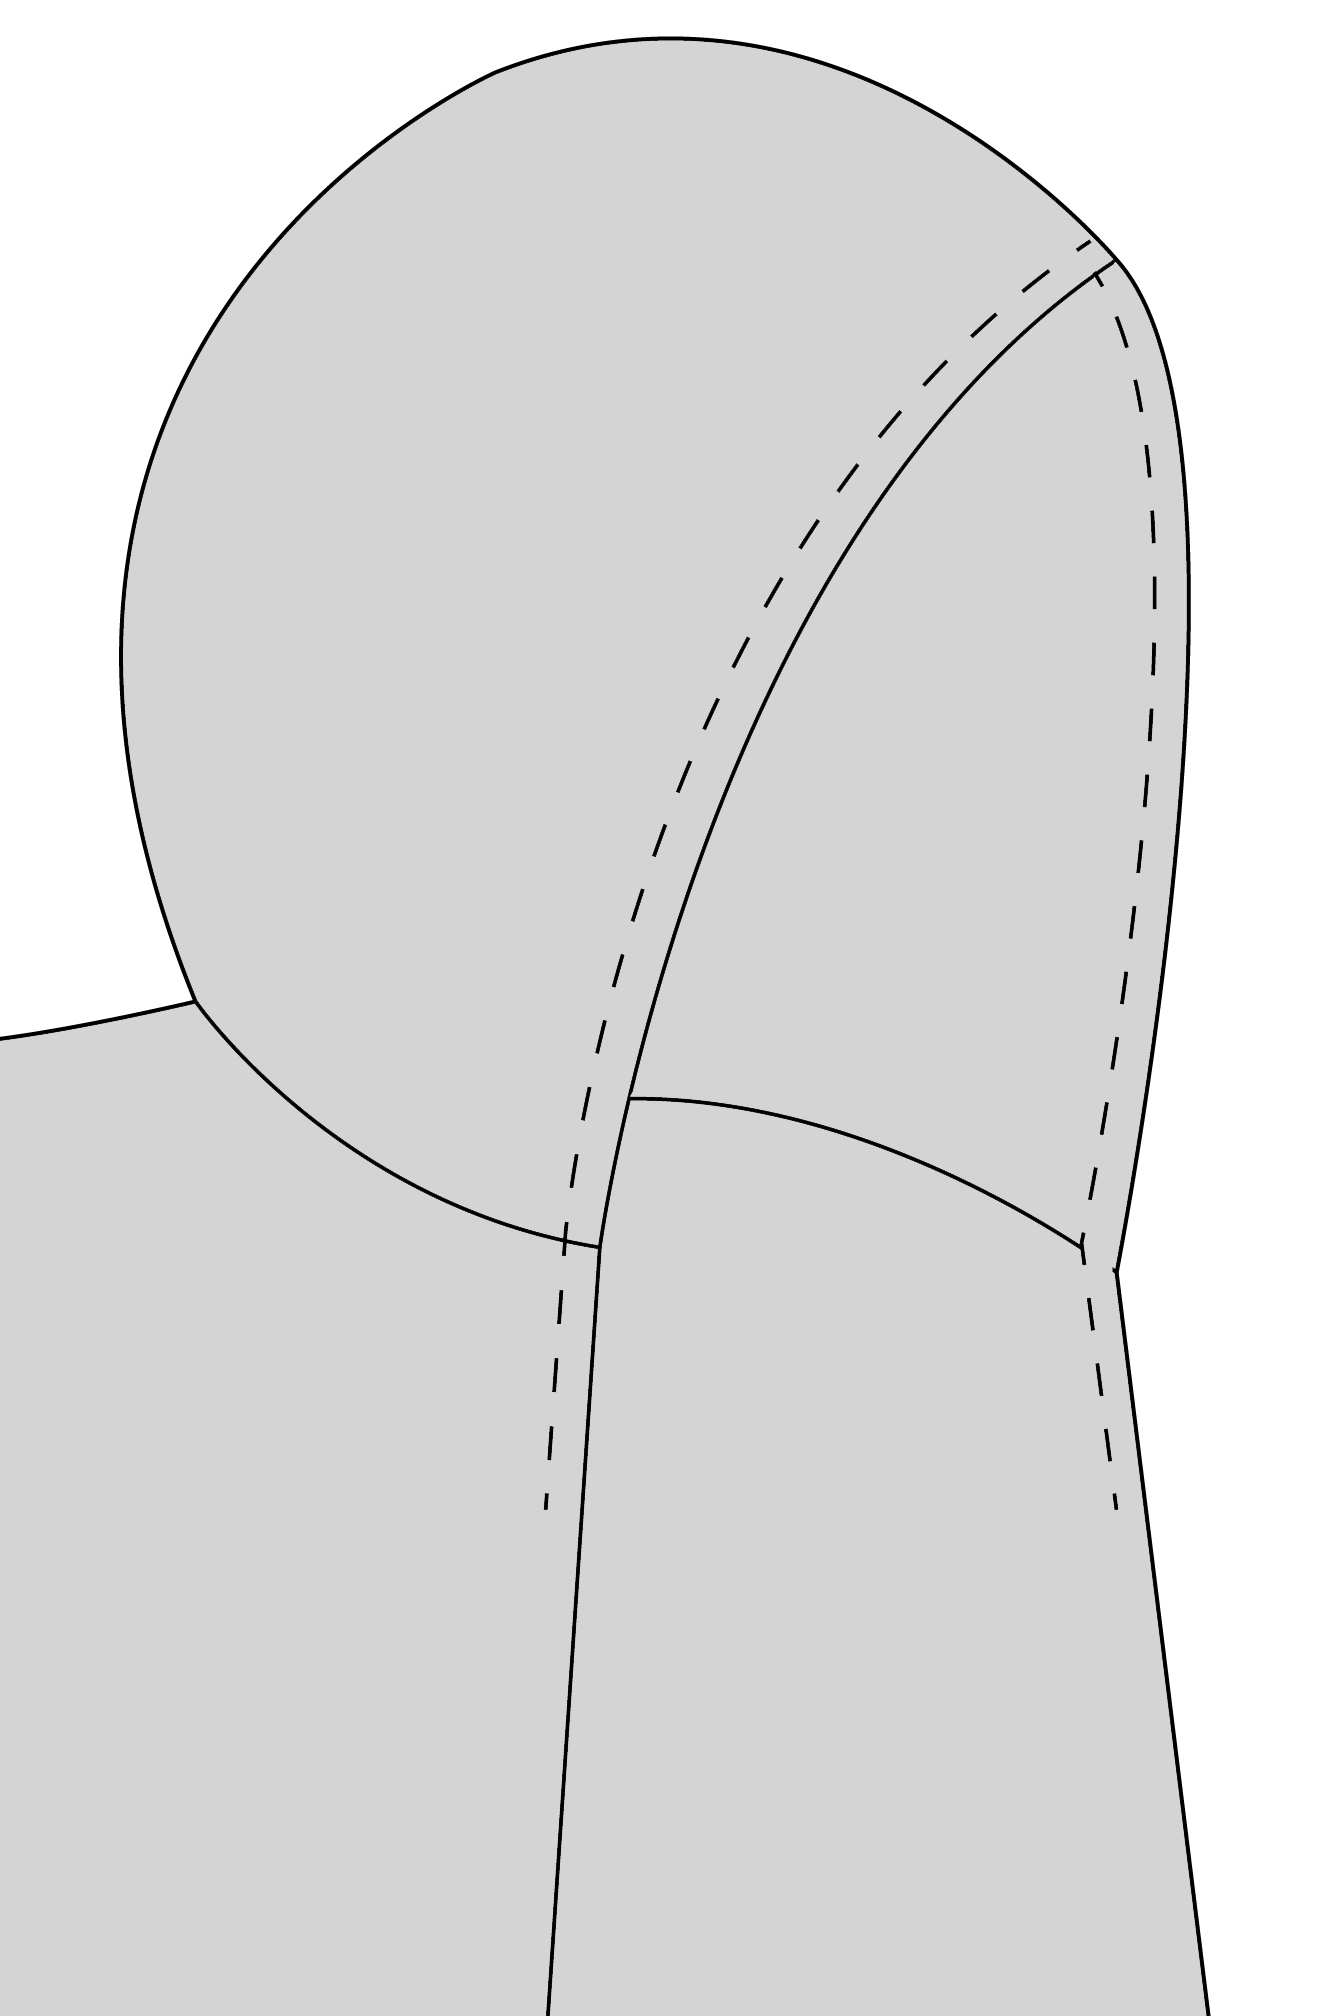
Step 2 - Instead of sewing the entire front edge shut, start with ONLY the hood edges and about 1-2" below the neck seam. Make sure you match up the neck seams - start 1-2" below it on one side, sew towards the hood, all around the hood edges, and stop 1-2" below the neck seam on the other side.


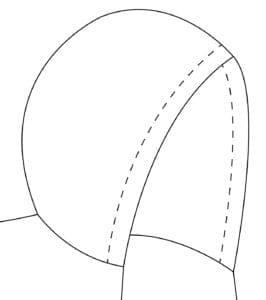
Step 3 - Turn your hood right side out and topstitch a casing for your elastic. Where you sew will depend on the size of your elastic - I chose to use 3/8" elastic, so I sewed approx 3/4" away from the edge, to allow enough room for it to easily slide through the casing. You want the casing width to be at least 1/4" bigger than the elastic (mine was 3/8" bigger). Start and end at the neck seams, as shown below - sew only on the hood.


Step 4 - attach a safety pin to one end of your elastic* and insert it into one end of the casing. Work it through until it comes out the other end.
*please note - this tutorial does not provide exact lengths for elastic - it shows how to take a long piece and adjust/trim it to the preferred length.

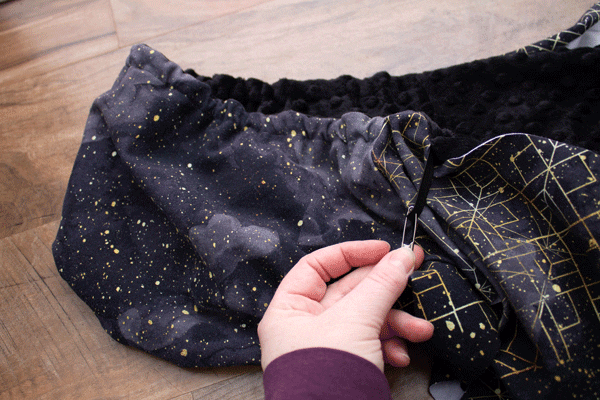
Step 5 - On the end with the safety pin, pull it so the elastic is about 1 inch past the neck seam. Then stitch in the ditch at the neck seam (horizontally - right above my thumb in this picture) through the elastic to secure it in place. Remove the safety pin and trim the excess elastic by 1/2-3/4".

Step 6 - Take the loose end of the elastic and pull it, distributing the gathers in the casing evenly, until the hood is gathered to your preferred amount.

Step 7 - cut the elastic 1-2" below the neck seam, and attach the safety pin to the end, so if you drop it you can get it back out of the casing. Then stitch in the ditch (like you did in step 5) to secure this end of the elastic, and trim the excess.

Step 8 - Turn the vest (or jacket) back inside out and finish sewing as per usual - and you're done!
