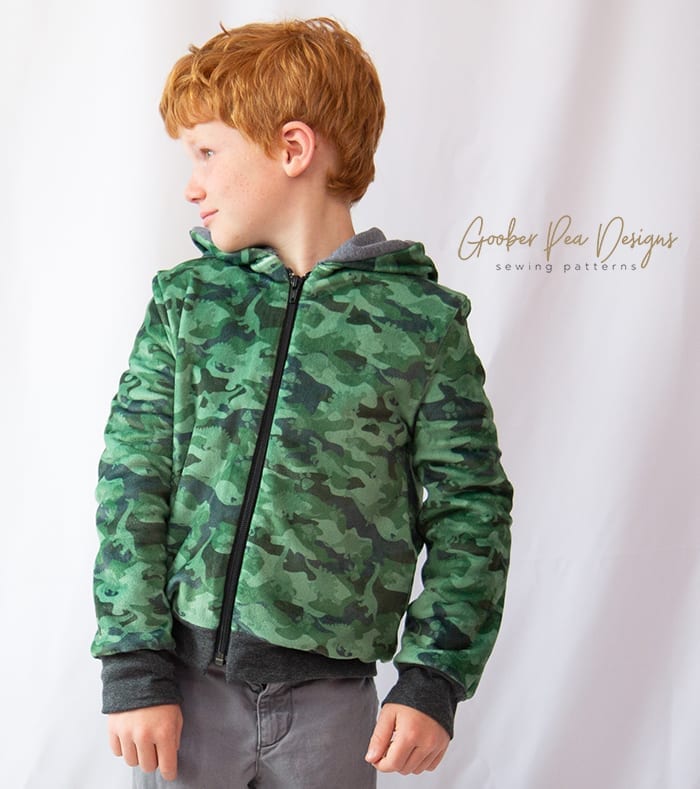
Zipper Tutorial - Tips and Tricks for installation on a knit jacket
Installing a zipper on stretchy knit fabric can be very tricky. If the the fabric stretches or moves while you're sewing at all, it will pucker and/or end up uneven. Here are my best tips and tricks for a perfect zipper, along with a video of how to prepare your zipper for sewing!
1. Use fusible interfacing. I use a medium weight woven interfacing, cut strips of it approx 1" (2.5cm) wide, and iron it onto the wrong side of the fabric, in the area the zipper will be sewn. Note: For fabrics that should not be ironed directly on its surface (such as minky), you can use a pressing cloth in between the iron and the fabric.
2. Use wash away Wonder Tape. This is a double sided sticky tape that will not gum up your needles and washes away after sewing. It is perfect for sewing zippers, so you don't have to remove pins as you go.
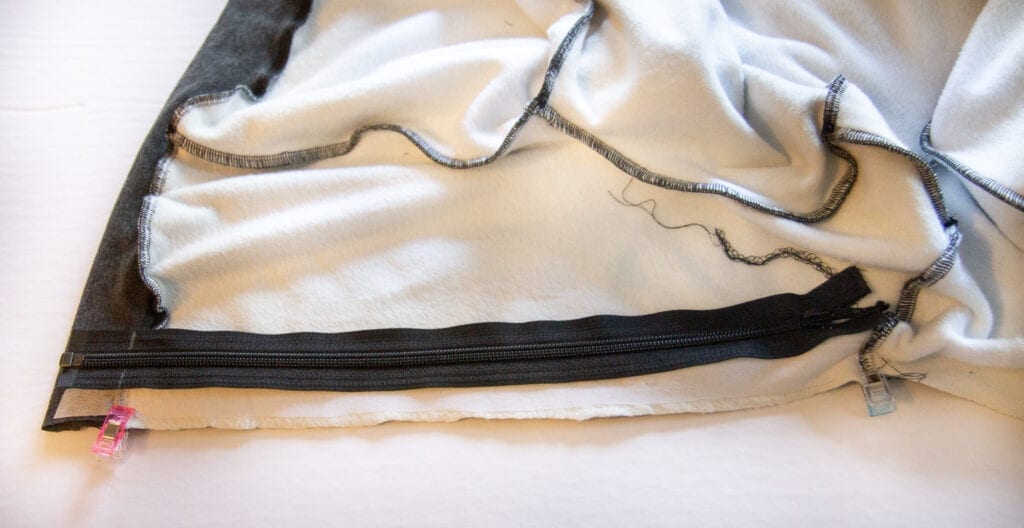
3. Mark seam intersections on your zipper tape. If there is a seam in your garment that sits perpendicular to your zipper, mark where you want that seam to meet the zipper BEFORE you unzip the two halves of your separating zipper. In the picture below, you can see I have used chalk to mark where the waistband seam should meet the zipper (on the left, near the bottom of the zipper).
Here is a video that shows these techniques on my project, a Campbell Jacket with the waistband hack. (Please note, the Campbell Jacket pattern has been retired, but the Quadra Jacket is quite similar)
And here is the completed jacket! Perfect zipper, no stitch ripping necessary 🙂